Riven (2024) | Complete Walkthrough – Part 7
Welcome to Part 7 of our Riven walkthrough for 2024. In case you didn’t realise, this is a fully remade version of the classic sequel to Myst, and as such, the puzzles and solutions are completely different. In Part 7 of our Riven walkthrough 2024 we continue your journey through the entire game, so you never get stuck, lost, or frustrated with a puzzle in the remake.
Riven (2024) | Complete Walkthrough
Part 7 – Back to Jungle Island
Contents:
a. Jungle Island Marble
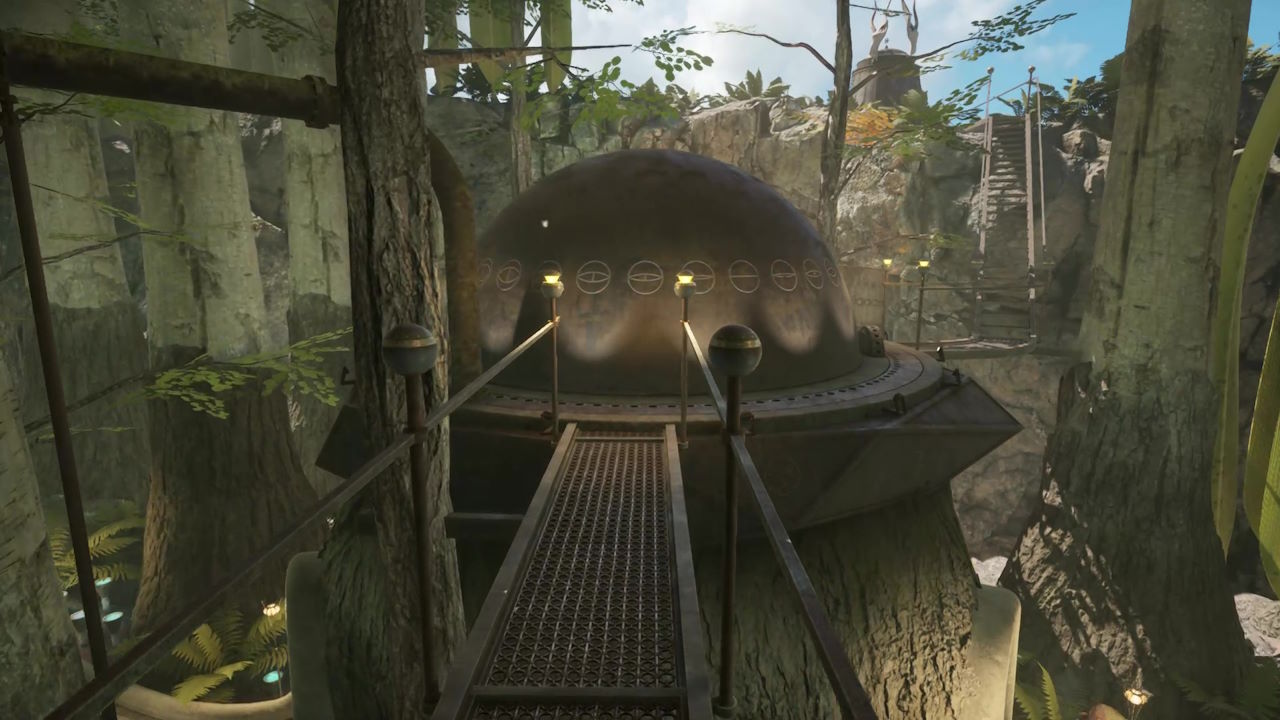
The eagle-eyed amongst you will again notice something around to right of the Mag-Lev. Again we will come back to this later. But for now, exit to the left, and call the elevator. Head inside, and use the handle on the right, and turn it halfway, to raise one floor. Once the lift has stopped, press the lever on your left, and this will open the mouth of something in front of you. If you now head down the stairs, you will find yourself back in familiar territory in Jungle Island, and that big mouth belonged to the big menacing totem we couldn’t open before, so consider this a handy shortcut.
Head back into the elevator, and raise the lever on the right to the highest it can go, and you will go up another floor (and the elevator will have pivoted slightly to the side). You now have access to the walkways above Jungle Island. As you head out, you will come to a fork in the walkway, and take the right path to the Stroboscope for Jungle Island. You know the Jungle Island symbol now through a process of elimination, but you can still use the lens to check the spinning dome as usual. Press the button on the Stroboscope when the following symbol appears to open up the Jungle Island spinning dome:
![]()
This will open up the spinning dome and again allow you to enter the Starry Expanse. Repeat the steps from previous visits to extend the walkway and rotate the centre, and then fire the marble beam towards it. Excellent, only the Temple Island expanse is left to go.
b. The Sixth Totem
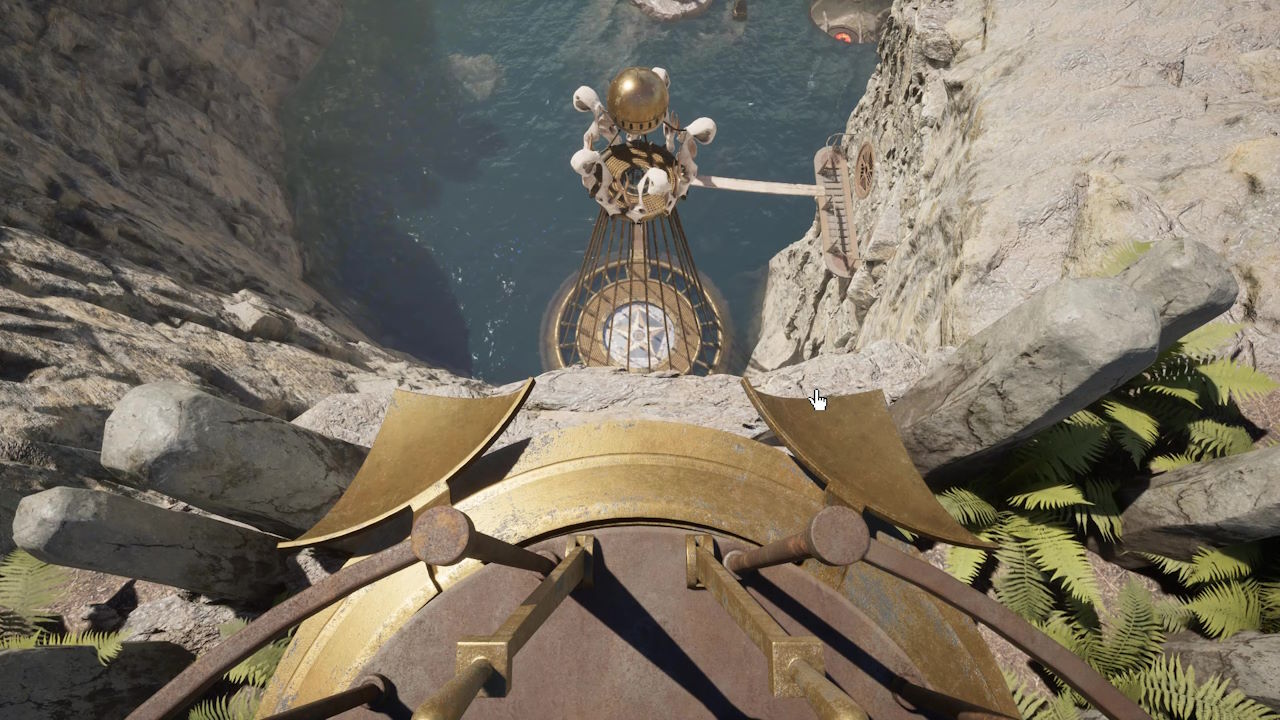
Head out of the spinning dome, and head around the back and up some steps to a small, high building. Open the door and head in. Pull the left lever in front of you to raise you up. Then when you’re at the top, pull the right lever to close the platform up below.
Head all the way back to the Mag-Lev now, and as you did before, head inside, turn it around, and then exit on the other side. Head through a winding cavern and before long, you’ll come across the submarine. Turn left, head up the stairs, and flip the lever on the left wall to extend the ladder above the sub. Now descend the ladder inside the submarine.
You operate the sub by using the lever on the main console and moving it to one of four submarine stations, denoted by the circles. To head off, you pull the lever on the right. For now, put the main lever in the top right hole, and set off. Once you arrive, exit the sub via the ladder, head around and left to a wheel, which will extend a walkway to the village. At the junction, take the right path until you reach a raised bridge. Interact with the pulley system to the right to lower it permanently. This connects to the area we visited before. Retrace your steps, and this time go the other way at the junction to immediately hit a ladder. Climb it, then another two, to reach a higher area.
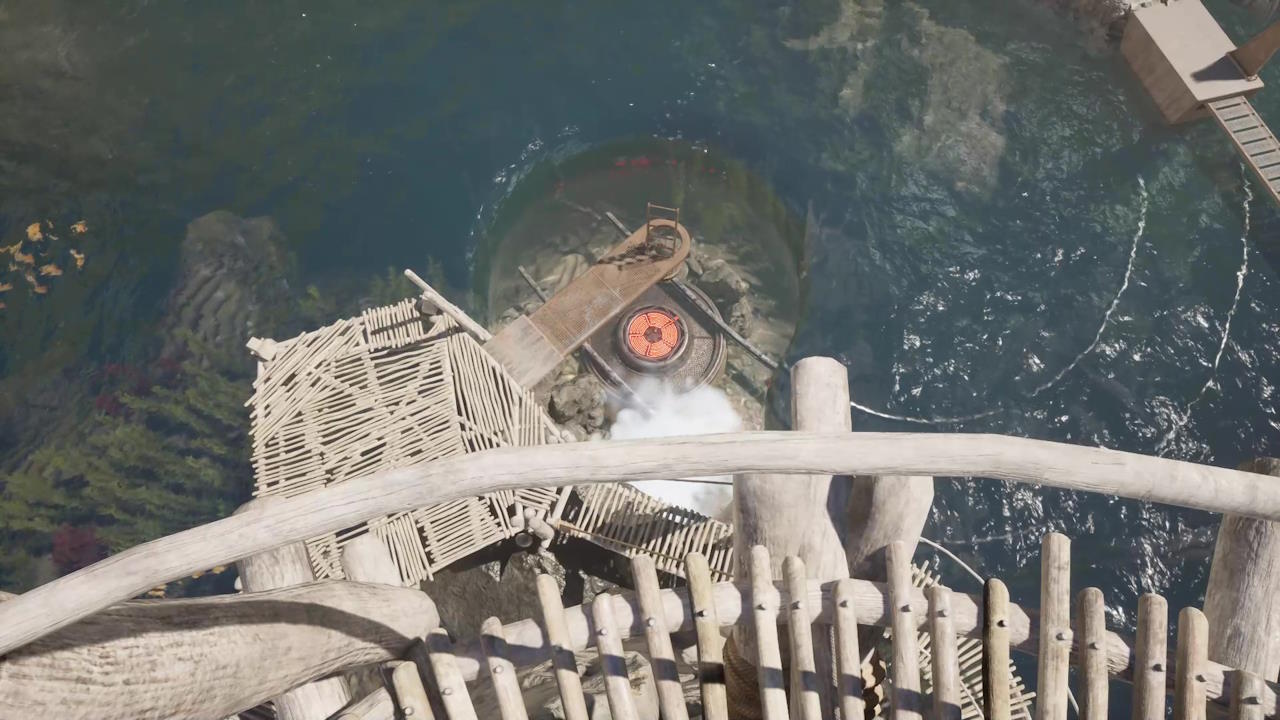
Immediately head right from ladder, and follow the path around some houses. Eventually, you will come to a Wahrk totem spewing smoke. Head around the back of the totem and interact with the lever there to shut the mouth and stop the smoke from billowing. If you look down, you will see the smoke now billowing at the water level, as you can see below:
You should now be able to retrace your steps back to the shortcut we opened, and you’ll be right by the area with billowing smoke. You can take the ladder down, by the water and open the door where this is smoke is coming from. Head inside and you will discover the sixth, and final Rivenese Totem.
Back in the cave, we know the Rivenese Totem is number 3 as that is the only number we have left, but we can double-check using the same rotation method with the eye, and then comparing to our Moiety numbers. Also don’t forget to use your lens and look upwards to find the animal shape on the ceiling of the cave:
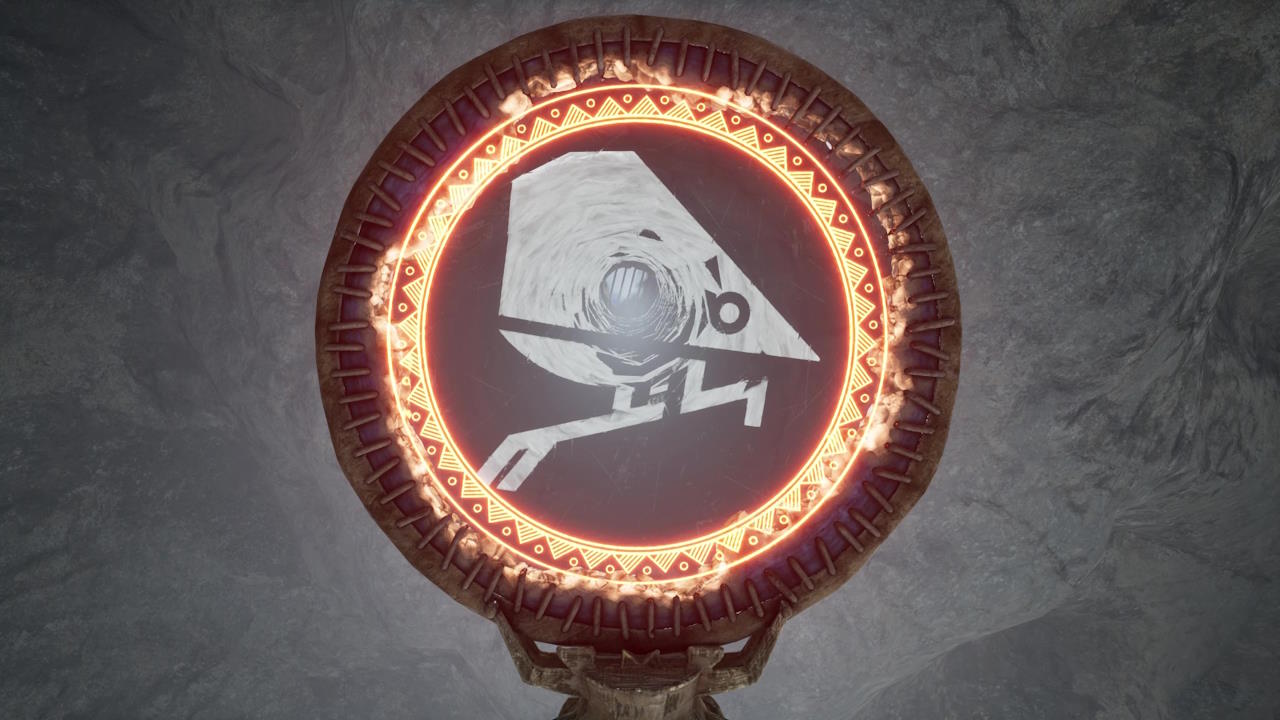
And remember this is animal number 3.
c. Make the Tree Bloom
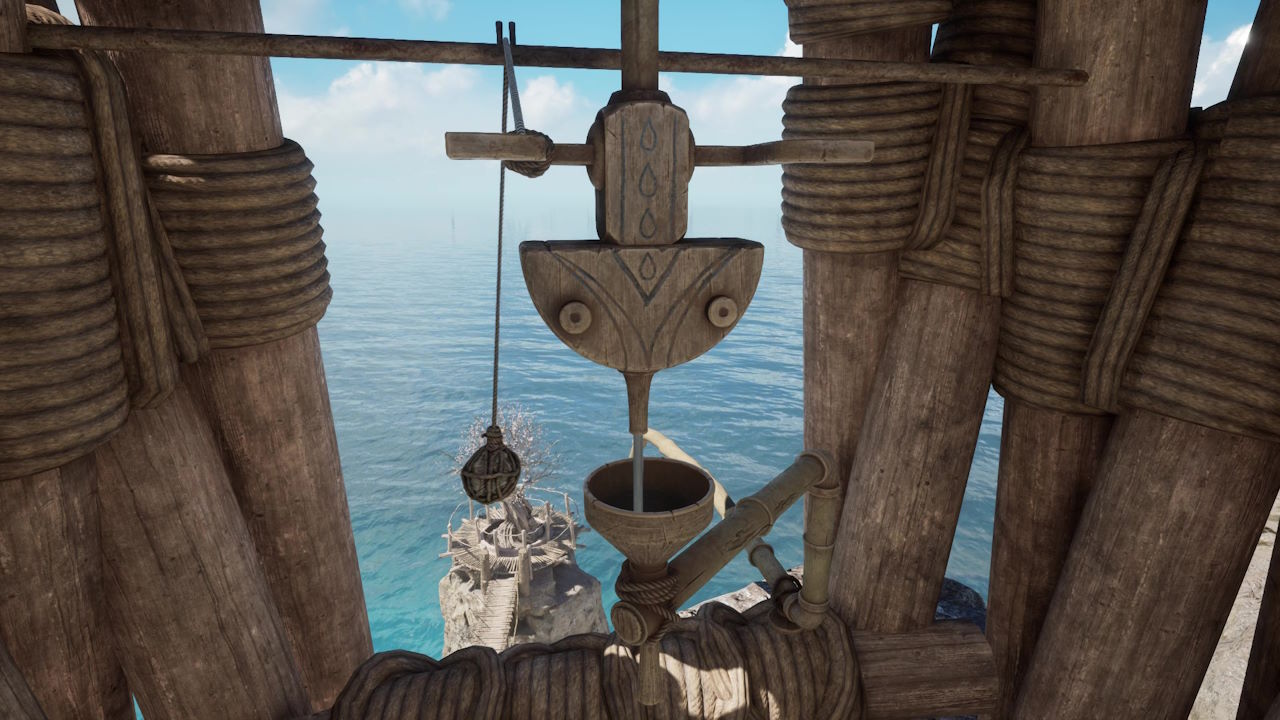
Head out of the cave, and back up the ladder. Head back around and climb those three ladders in a row again. but this time, at the top, head forward, and to the left, to another ladder. Climb it, and then follow the path around to another shortcut that you can lower by interacting with the pulley on the right.
Now head back along the path and take the ladder up on your left. At the top, turn to your left, and you will see a house.
Take the path behind the house, and follow it all the way around and up, until you come to a ladder. Climb this ladder and follow the path up to the watering tower. From here, you can see the tree we saw much earlier in our adventure down below. Firstly interact with the funnel on the right, to move it into the centre, then interact with the frog to turn it to make it spit water into the funnel. Keep the interact button held until you can see that the tree’s blossoms have fully bloomed below.
Once done, head back down to that second shortcut you opened. This will actually handily lead you back to Totem number 2. Standing at the totem, turn to look at the tree, and use the lens, to find your final animal shape:
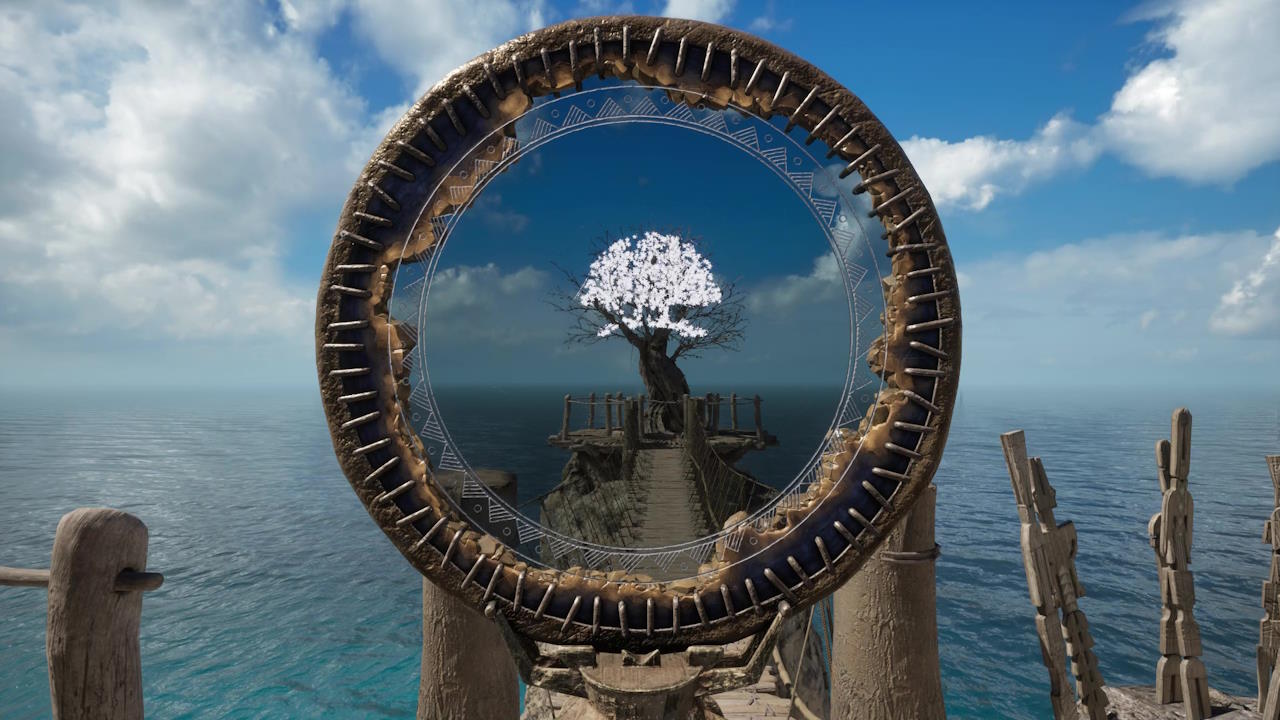
And remember this is image number 2.
d. Bringing the Totem images together
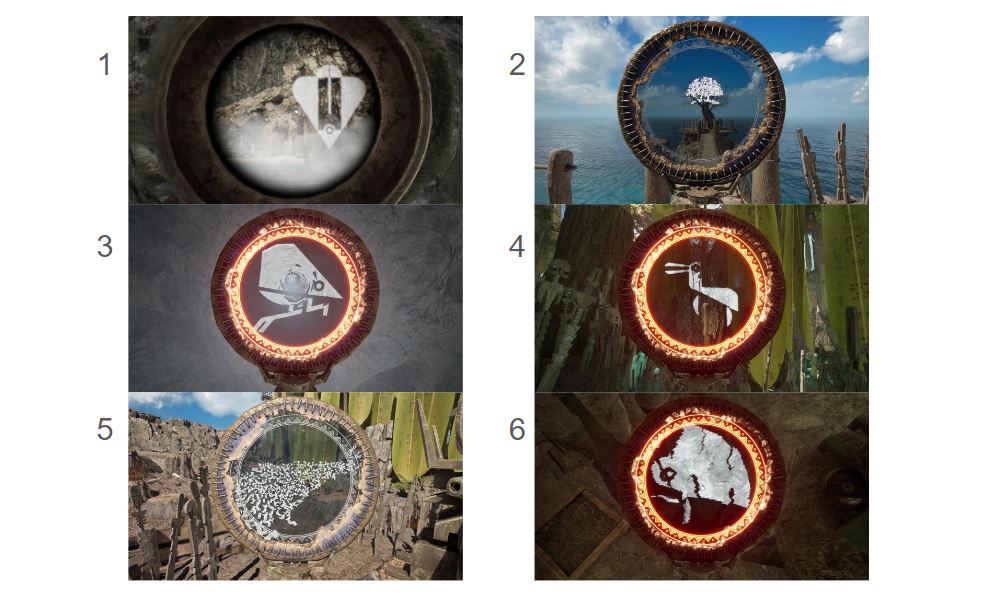
You now have six images from the totems, and each of them should have a number 1-6. Now we need to use this information to our advantage. Head back to the submarine and this time set it to the bottom left position, and then set the sub moving. Once you arrive, head on out and you’ll be at the Wahrk gallows area. The platform is accessible given the lever we pulled high up after the spinning dome.
On your left is a panel with three buttons. Press the lower button, to bring the platform down. Then when it is fully lowered, press the middle button on the panel, and run towards to platform to get on. It will then raise, with you on it to a previously unreachable ledge. Cross the plank and look through the window to see a prisoner. There’s a wheel on the left to open the prison door, so do so. However, when you get inside, the prisoner has disappeared. Use your Moiety lens to find a brick that has been painted with the hidden paint, and interact with it to reveal a hidden exit.
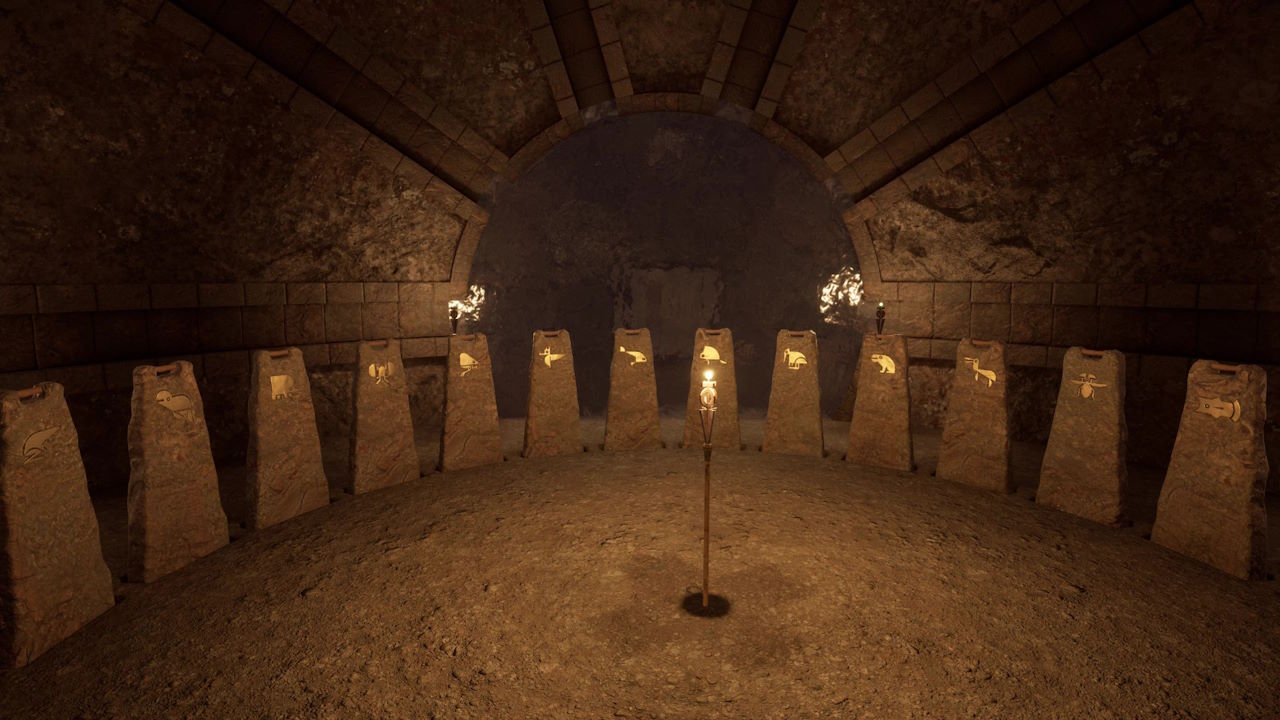
Head right into a dark tunnel, but your lens will guide the way, with a white trail. At the end, it appears to be a dead-end, but turn around and interact with the small fire marble on the left wall. This will light part of the tunnel. Proceed to go back up the tunnel, hitting each marble until you have fully lit the tunnel all the way up. Then turn around and head back down a short way until you come to a hidden door on your right. Interact with the handle, and it will draw back revealing a new tunnel. Head inside and follow the tunnel until you get to a room with lots of rocks with designs on them in a circle.
Here’s where we use our totem knowledge. We need to interact with the stone tablets that share the six animals we have located using the lens from the totems, but also in the order related to the numbers we found on the totems.
As a reminder of the correct solution, raise the stones in this order:
Doing so will remove the water barrier at the far end of the cave, and then after a moment, the secret the Moiety have been hiding – a Linking Book to a new home. Use it to venture to the Age of Tay.
