Riven (2024) | Complete Walkthrough – Part 5
Welcome to Part 5 of our Riven walkthrough for 2024. In case you didn’t realise, this is a fully remade version of the classic sequel to Myst, and as such, the puzzles and solutions are completely different. In Part 5 of our Riven walkthrough 2024 we continue your journey through the entire game, so you never get stuck, lost, or frustrated with a puzzle in the remake.
Riven (2024) | Complete Walkthrough
Part 5 – Prison Island
a. The Fifth Totem
Prison Island actually houses a Totem for us to find. Head down the ladder from the spinning dome, and then begin to make your way along the path. You will notice the barrier breaks on the left part way along, and you can actually head out onto a sandy, rocky area that takes you under the large tree of the island. Keep following the path and you will come to the fifth totem in the game.
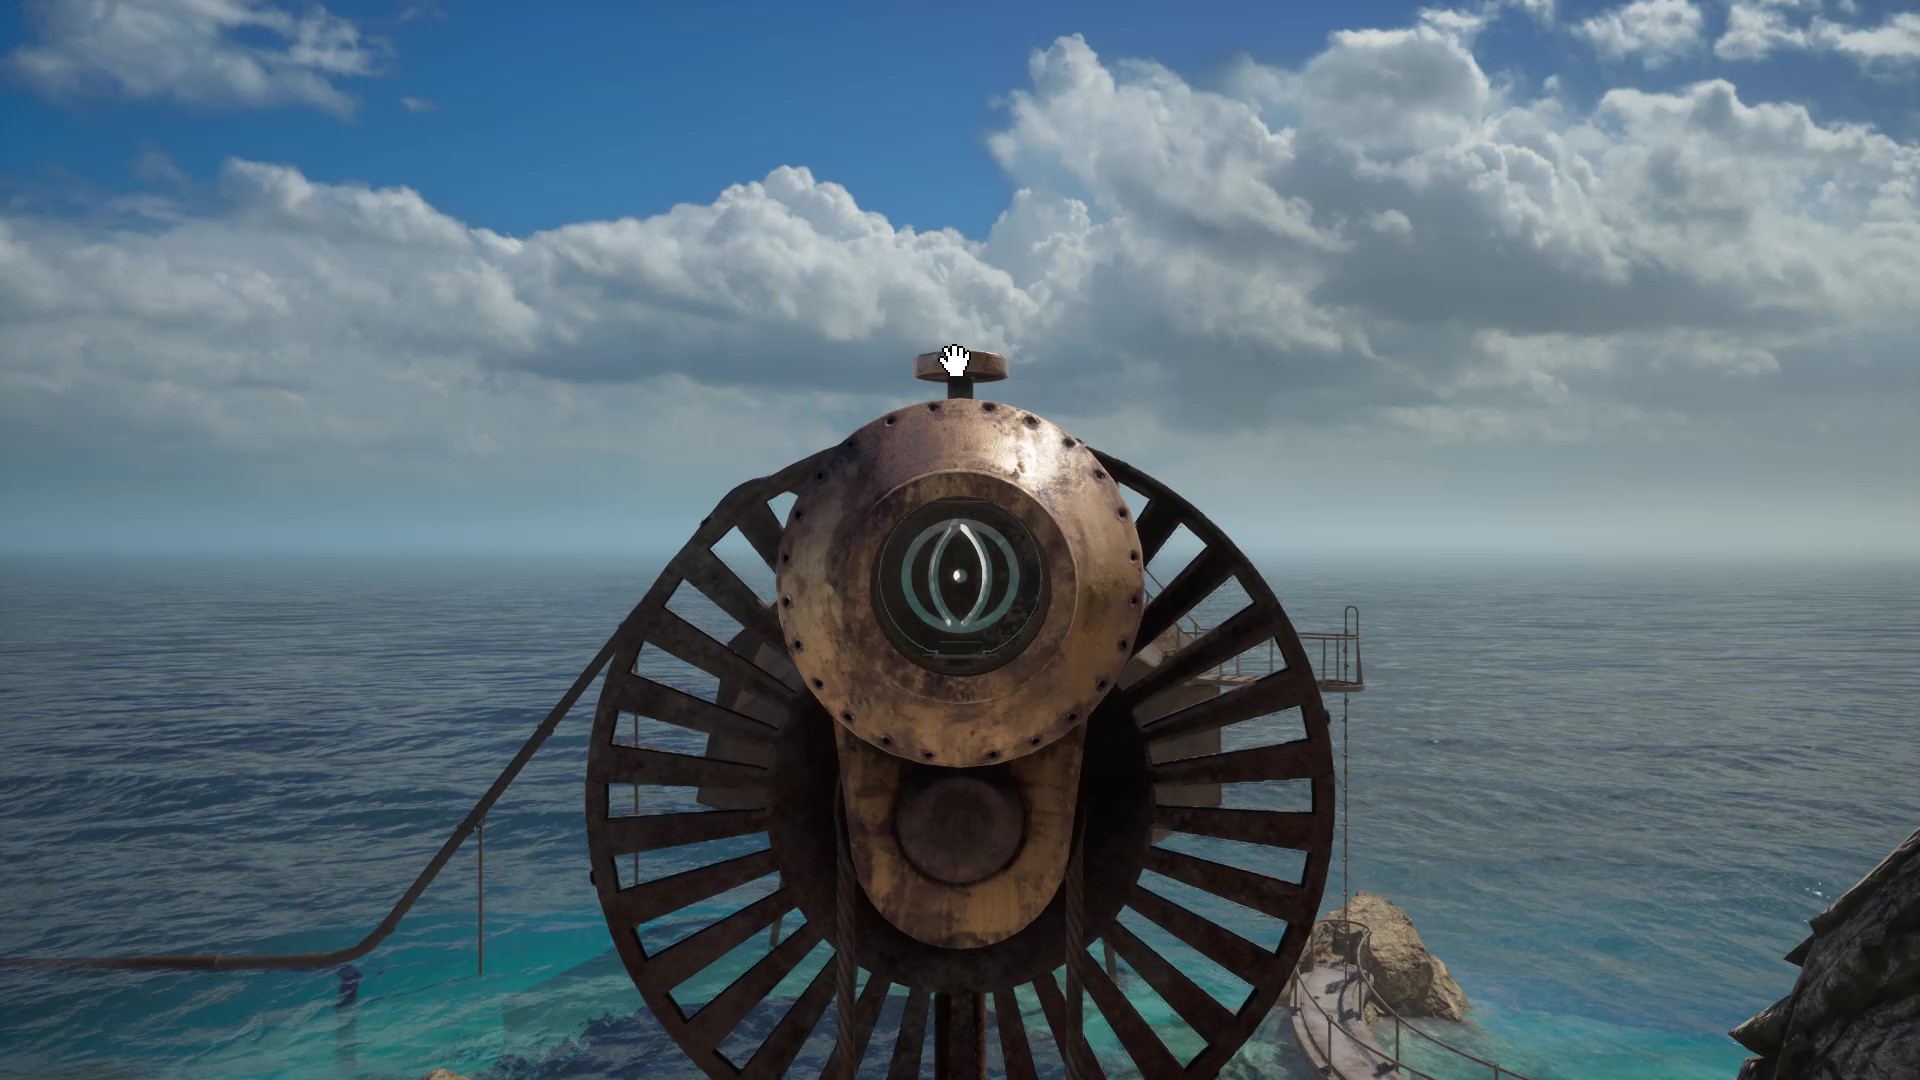
As usual, turn on your lens, and inspect the eye piece. Rotate the wheel using the nails to reveal another Moiety number. This time the totem is number 1. Now we need to find the hidden animal symbol, which is a bit trickier than normal.
Behind the totem, there is a particular root that looks peculiar. It has two familiar Riven daggers in it, so is clearly special. If you’re struggling to find it, check out the image below:

Interact with the root, and a part of it will pivot forward, and you may not instantly know why or what to do with it. The key is to go around to the top of the pivoted root, and you should see a small hole, look into it and you will see a vision of Jungle Island through it. Pop on your lens and voila, there’s your associated Totem image. See the screen below for what you are looking for:
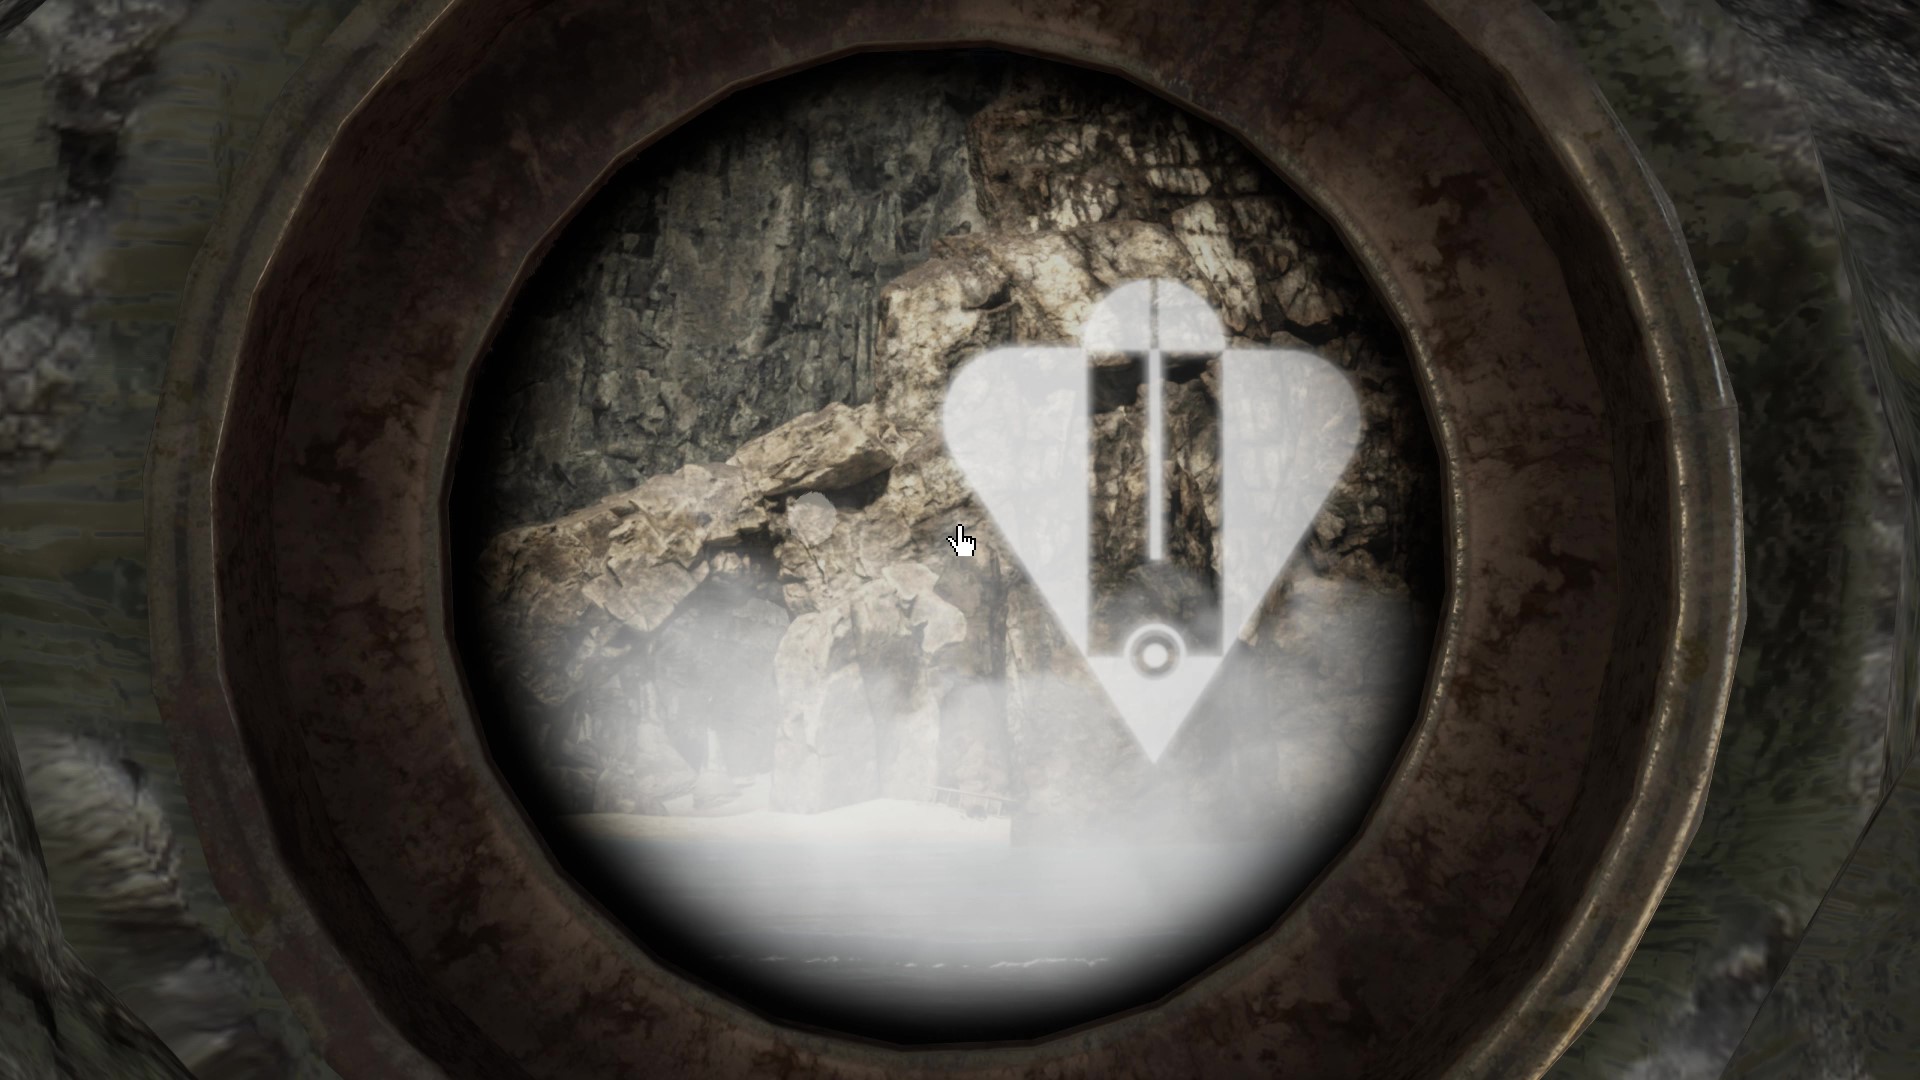
Remember to draw it, or use RB (on an Xbox controller) to commit it to your memory via photo. And remember it is from Totem 1.
b. Meet Catherine
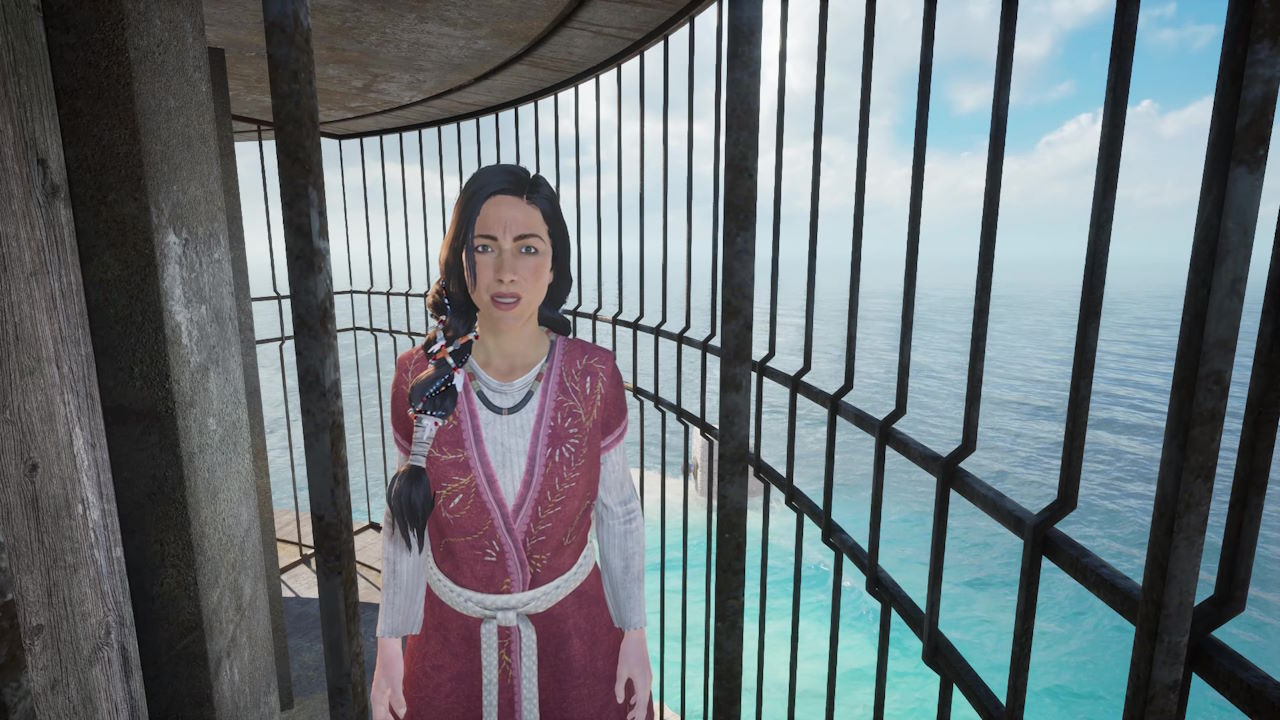
From the totem, take the ladder upwards. Now cross the various roots and planks until you get to a set of ladders up the side of the central building of the island. Climb them all to be met by Catherine, who has been imprisoned by Gehn. We cannot get her out at the moment. She confirms that the Moiety have our Prison book, which we need to capture Gehn.
There’s nothing for us to do here now, so let’s retrace our steps all the way back to the gap in the walkway near the spinning dome. Head left, towards the base of the main building. Ahead of you is a lift to where Catherine is being held, but it is not working. Look to your right, and you will see levers that make the following sounds:
snap, trill, ding
We don’t know how to use this at the moment, but once we do, we can return here and free Catherine.
c. Head to Survey Island
So now we need to head back to Boiler Island. To do this leave the narrow corridor you are in, but then take an immediate left, and take the stairs to the Stroboscope for Prison Island. We already know the symbol for this island, so be sure to input this symbol in the Stroboscope to make the spinning dome open:
![]()
Head back to the spinning dome, and into the Starry Expanse. Head all the way to the central globe mechanism, and pivot the globe back to Boiler Island. Remember for Boiler Island, you are looking for the following symbol on the globe:
![]()
Once you have connected to the Boiler Island walkway, head, back up the walkway and exit the Starry Expanse to Boiler Island.
Now here, exit the dome, and head forward, and up the stairs. Keep going straight to return to Gehn’s Laboratory. Once inside, there is another door to your left, we haven’t used yet. Open it in the same way as before and head out. Below you, you will see a Mag-Lev station. Press the blue button halfway down the walkway to call the Mag-Lev. Then get inside, turn it around, and head towards Survey Island.