Riven (2024) | Complete Walkthrough – Part 1
Welcome to Part 1 of our Riven walkthrough for 2024. In case you didn’t realise, this is a fully remade version of the classic sequel to Myst, and as such, the puzzles and solutions are completely different. In Part 1 of our Riven walkthrough 2024 we start your journey through the entire game, so you never get stuck, lost, or frustrated with a puzzle in the remake.
Riven (2024) | Complete Walkthrough
Part 1 – Exploring Temple Island
a. Starting Out
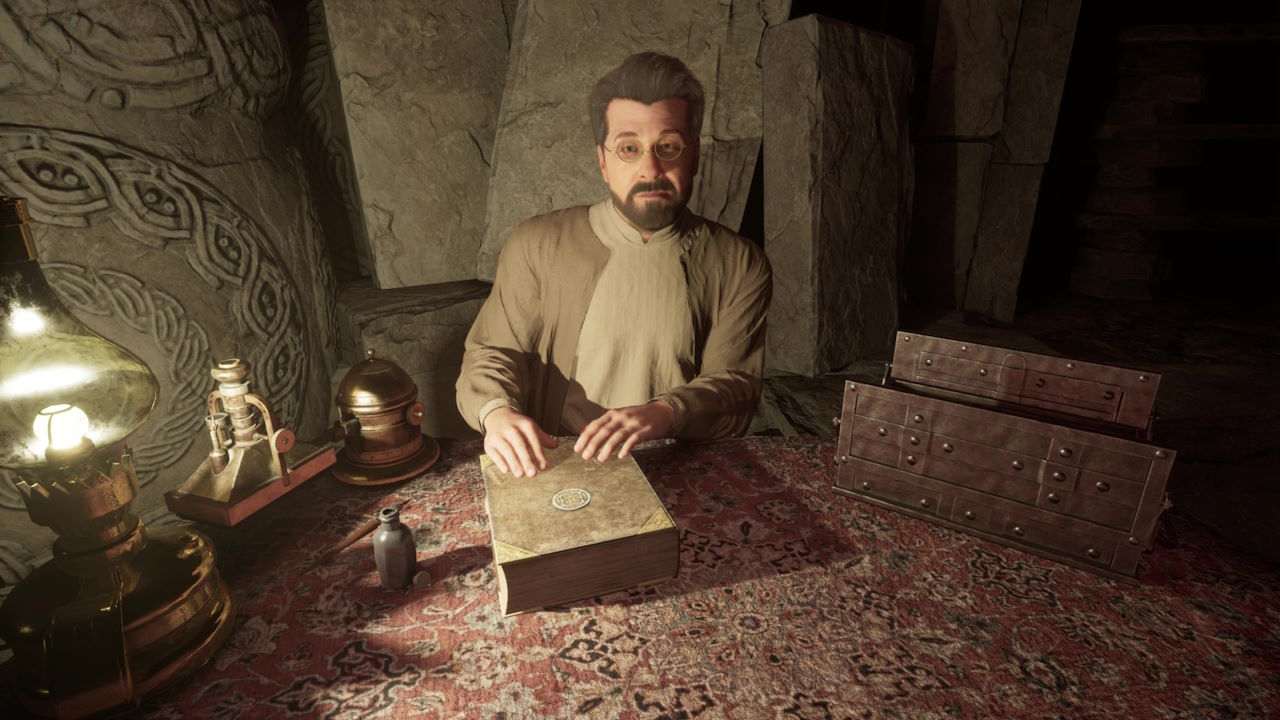
At the very start of the game, you’ll meet Atrus who explains your two main objectives, which are to free Catherine and to capture Gehn in the Linking Book. More of this will become clearer as you play. Once you have control, interact with the book on the desk to be taken to Riven.
You’ll find yourself in a booth, and before you can do anything a lever is pulled, and you are trapped. One of Gehn’s men has captured you. Luckily after a while, someone mysterious comes to your rescue and frees you from the cage, and you are free to explore. The world of Riven is made up of numerous islands. The island you are on right now is called Temple Island. Make a brief note of it for now, as we will be adding various notes to each island as we progress the game.
Now you’re free, the game will prompt you to examine your inventory. Feel free to read the diary in there for some useful background lore as to what’s going on.
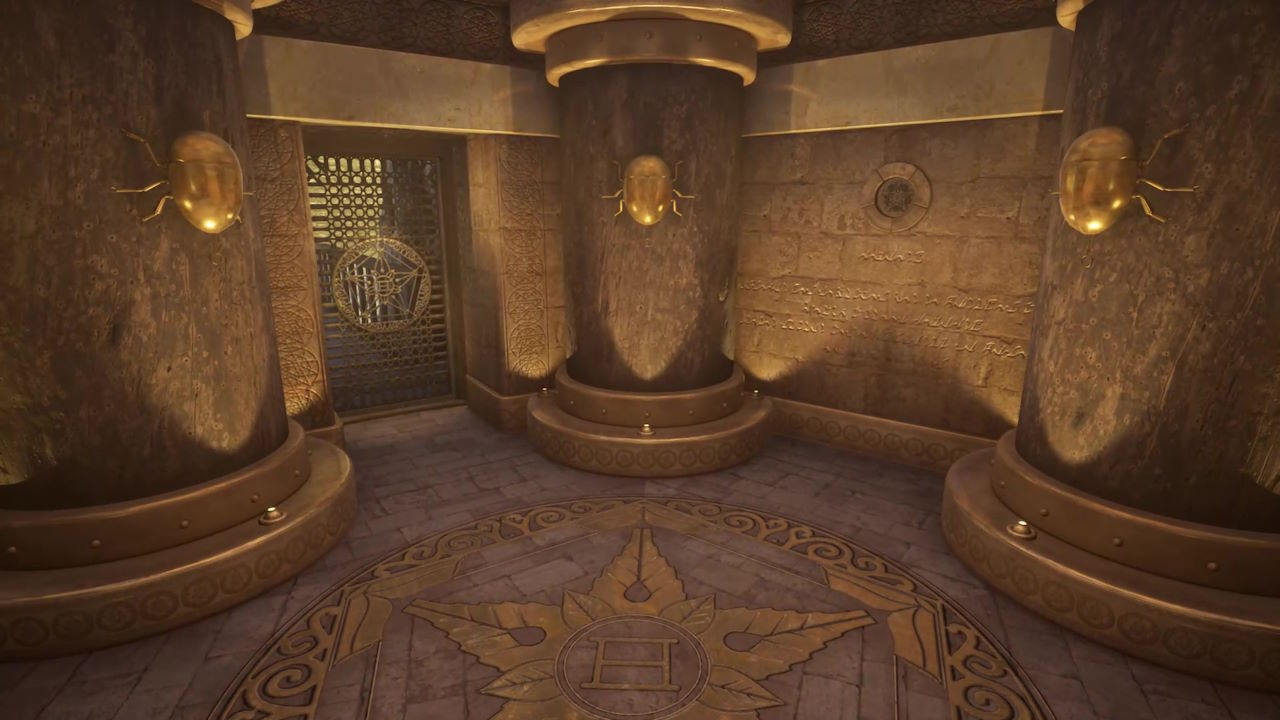
When you’re done, head to your right and up the steps. Once at the top, you have various options, but for now, turn left and head into the cave. You’ll pass a button on your right, which we’ll come back to in a moment, but first head into the golden room. It is a pentagon, with five walls, and two exits, one you used to enter, and another that is gated shut, but appears to lead to a golden-domed building.
b. The Rotating Room
What you need to know about this room is that there are five exits and entrances to this room, but only two are accessible each time, as dictated by the doors. You can rotate it, to change which areas the doors lead to. The rotation is done by the switch we passed before. The problem is, as you will have noticed is that you need to be out of the room to rotate it. We also need to deal with those gated exits too, to make them useful.
The trick here is to realise we actually have access to another entrance, we just don’t know it yet. Exit the golden room, leave the switch for now, and head outside. Turn left, and head down the stairs by the cliff, and you will come to a door. Unfortunately, this door is padlocked shut. However, we are resourceful in Riven. Hover your hand icon over the hinge pin for the door to remove it. You can now interact with the door to push it open. Now you can head up the walkway, and you are at the entrance to the pentagon room, one space counter-clockwise to where you were before. Our way through is blocked as the room hasn’t been rotated yet.
Let’s head back to the button now, and press it once. You will notice the entrances move clockwise in one rotation. Press the button two more times, to make the entrance appear in front of you. If you head inside you now have access to a different exit, to what appears to be a brown spinning dome, but it too is gated off. So we need to raise two different gates. Head back and press the button again. But this time, now exit and head to our second cave entrance. This will now be open, and you’ll have access to a new room. Head inside and interact with the switch here – this will avoid us needing to come back here later. Now turn around and before you head back into the golden room, you will see a lever to the left of the door. Pull it to raise one of the gates we need access to. To the right is another rotation button. Press that two times to give you access to the room, as well as the newly-opened gate to the brown spinning dome.
We can’t do much with the dome yet, but we will return here once we know more. Our goal is the golden-domed building. Like in the previous room, there is a gate lever to the left of this entrance too, so pull it to open up the final gate. Now rotate the room twice, and you’ll be able to reach the first entrance again. Turn around and use the rotation button two more times, and you should be able to enter the room, and exit towards the gold-domed building.
c. The Gold Dome
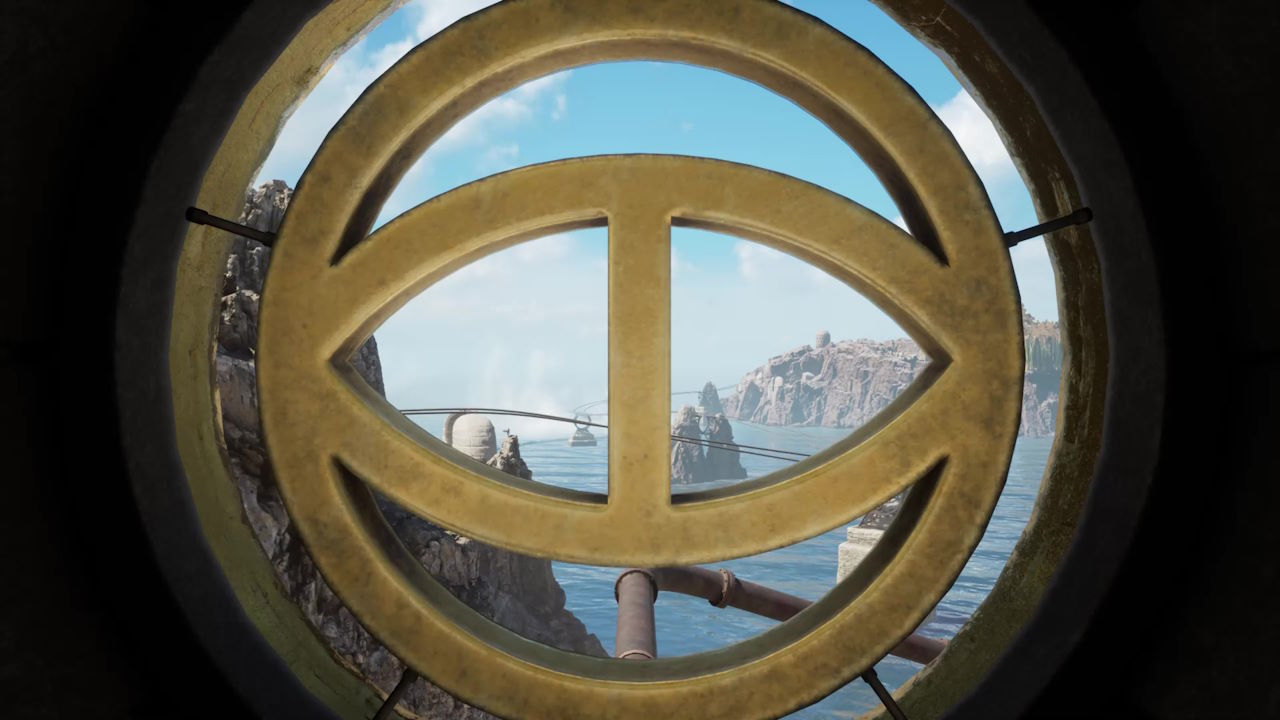
Inside, there are plenty of things to do. First and foremost, make your way around the outside walkway of the dome, and you will find multiple windows, that you can look through. Each window has a symbol in the window frame on it. Note down these symbols, as they will become very important as the game progresses. They are:
![]()
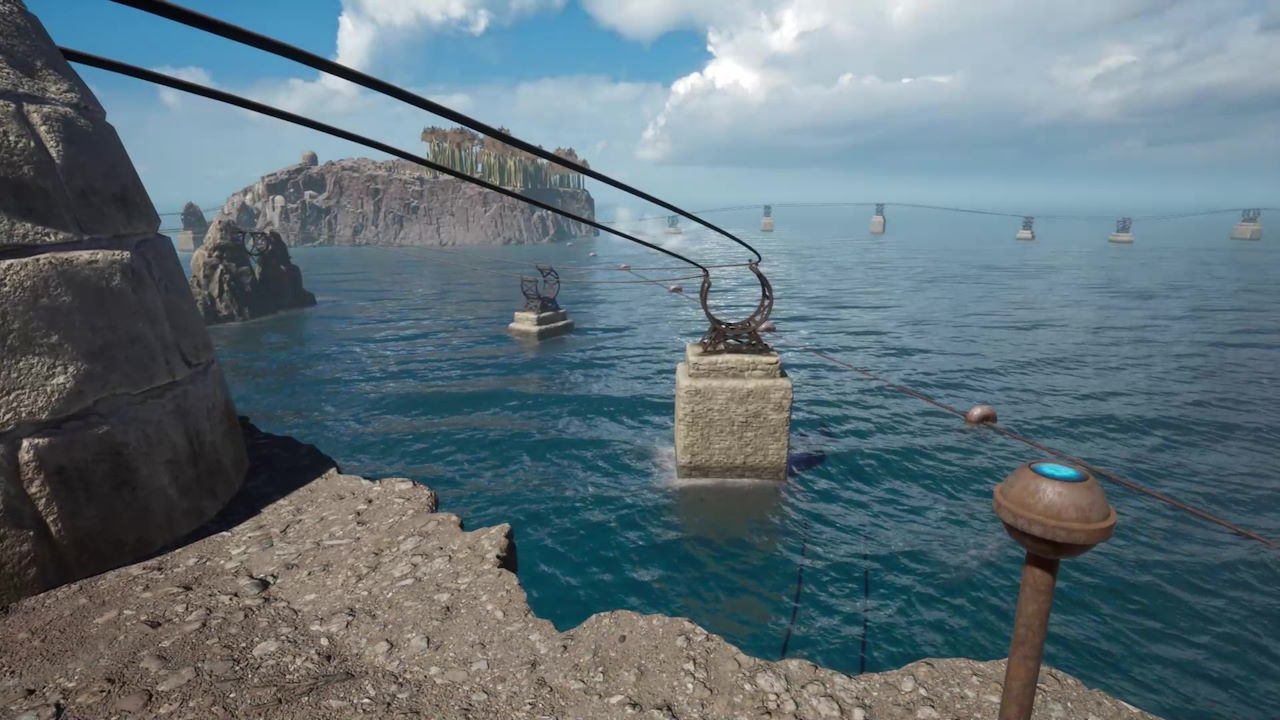
If you’re eagle-eyed, you’ll notice that each window is looking at an island, and what that means is that each of these symbols corresponds to a particular island in Riven. But as we haven’t explored yet, it’s hard to ascertain which one goes with which island. However, you will notice one of the windows looks back on the spinning brown dome we saw earlier which is on this Island – Temple Island. As such we can infer that Temple Island has the following icon:
![]()
So note that down. We can explore the centre of the room, which appears to have pipes coming from the direction of each window – and therefore island. There is another Linking Book there, but it can’t be used at the moment. We will come back here much later in the game. Turn around and walk towards the way you entered the dome, and before you leave, you will notice some steps heading downwards to your left. Take them, and take the first door on the right. You’ll head outside, follow the path, and open the door, and enter the room with the Spider Chair. You will notice circular images on the wall – they will be important. Interact with the Spider Chair to sit in it. You have two levers to interact with. You’ll see the left one opens and closes the door to the temple, and the right one raises and lowers the bridge to the temple. Interact with it so that the bridge is lowered and the temple door is open. Once done, you can leave this room.
d. Leaving the island
Now head back up through the Gold Dome room, and head back through the Rotating Room and outside. Now we are going to cross the bridge we’ve been ignoring up to this point. This is the one you were raising and lowering in the Spider Chair, so it is important it is lowered to be able to cross. Head inside, down the stairs, and then open the closed door. You are now in the temple that gives the island its name.
There’s nothing to do in the temple, so head outside, through the door you opened with the Spider Chair. In front of you is a small think pillar with a blue button on it. Press it to call what’s known as a Mag-Lev – a method of transportation between the islands of Riven. If you look out to the connecting island, you will see the Mag-Lev approach.
Once it has arrived, head inside. Interact with the unit in front of you to sit down. The doors will automatically close. Now interact with the lever on the left to swing the Mag-Lev around. Then interact with the central lever to move it forward, and off towards your second island – Jungle Island.