Metroid Dread: How to defeat the purple EMMI on Ferenia
Metroid Dread is a brilliant game, and it has a lot of boss fights, including the purple EMMI robot in Ferenia. This is one of, but maybe not the hardest boss in the game, because it the one that requires the most thought, as it’s not like many of the other battles in the title.
There are 7 EMMI robots to escape then eventually beat in Metroid Dread, and most follow the same pattern. First you have to find the mother brain and defeat it. After this you will gain the temporary ability to take down an EMMI robot. This usually you to run around and find space, before unleashing your fury upon the enemy. But this isn’t quite the case with the purple EMMI on Ferenia.
Metroid Dread: Why it the Purple EMMI so hard?
Unlike every previous EMMI battle before it, the Purple EMMI on Ferenia gives you a very specific area on the map to fight back in. Instead of the entire EMMI sector being available, you have to fight the Purple EMMI in close quarters, through vents and one-block spaces.
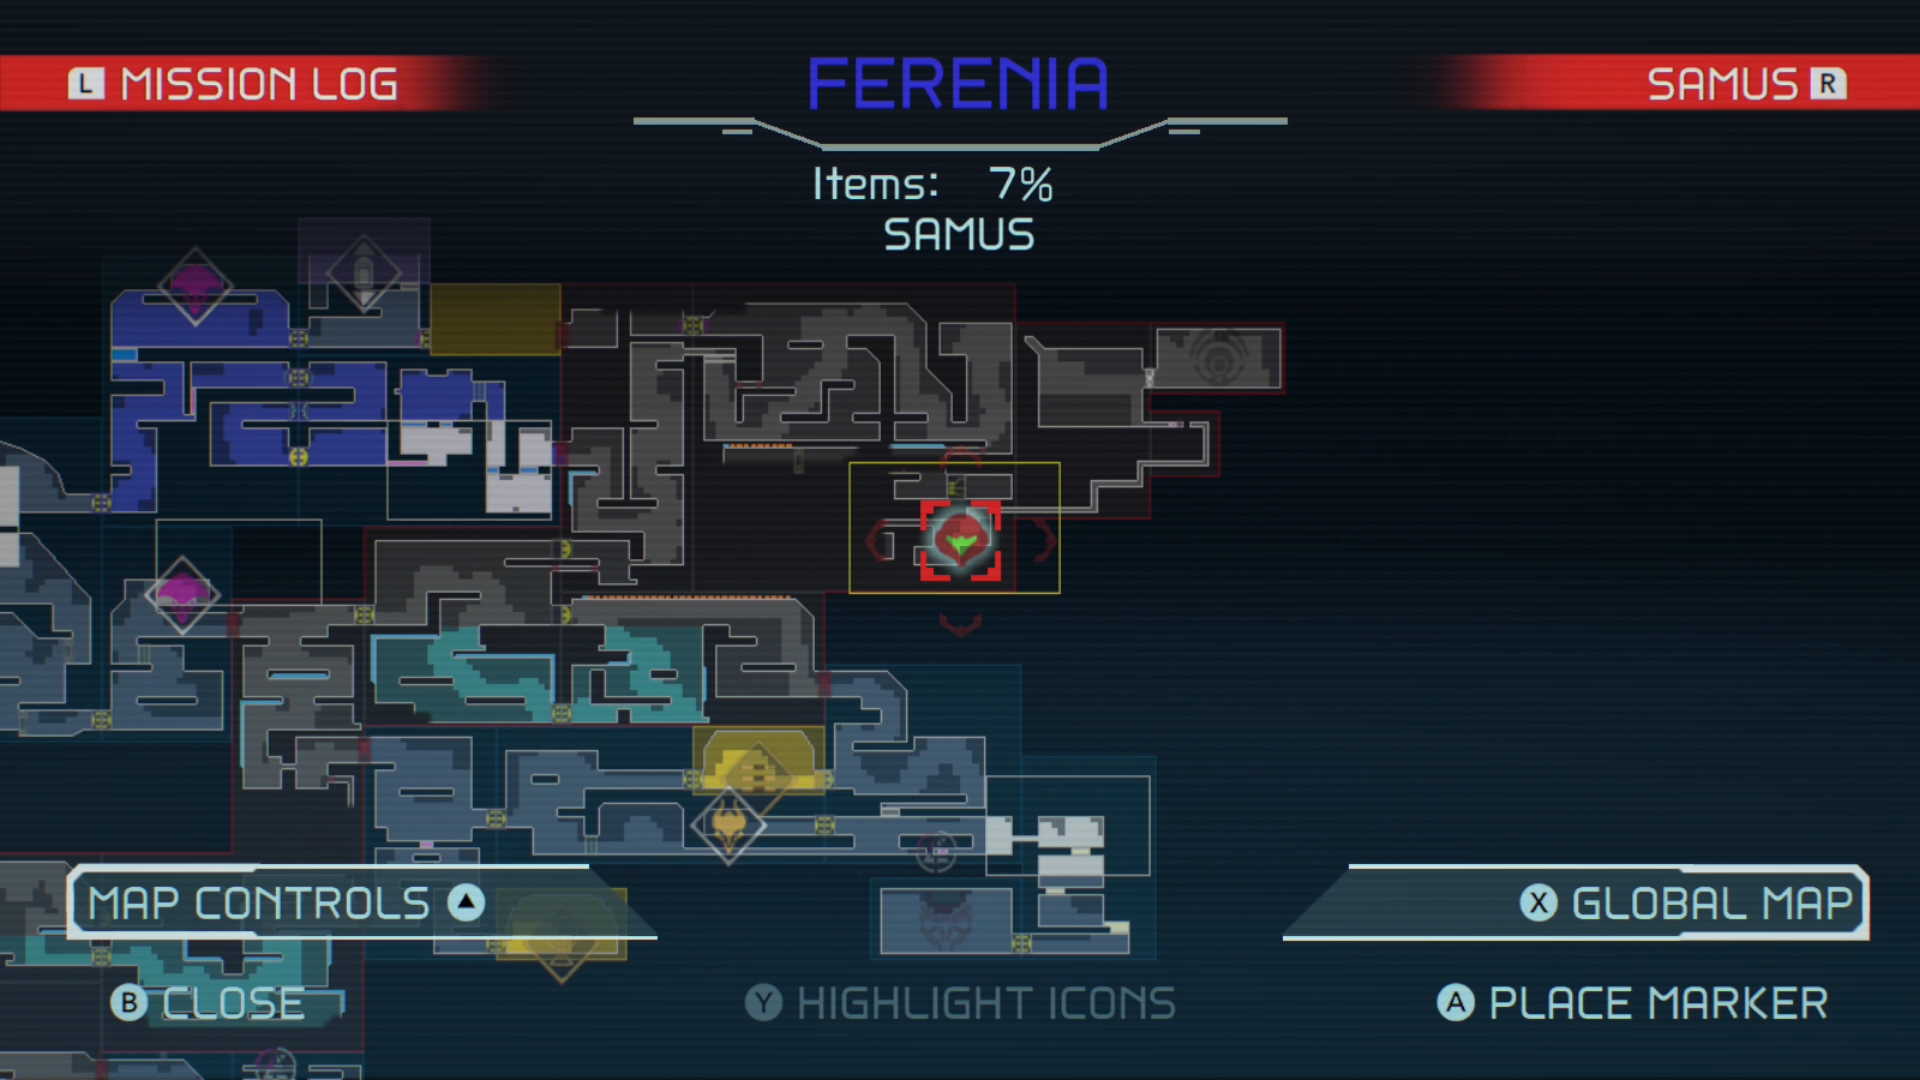
At first, it seems like an impossible fight. There is no room to maneuver. You need to draw your weapon and fire at the purple EMMI’s head until it exposes the core, and you can charge your Omega Cannon to kill it. But there’s just no room, right? Wrong…
How do I make space to fight the Purple EMMI?
Like much of the late game in Metroid Dread, you need to think outside of the box. Shooting with the Omega weapon will chip away at the head of the Purple EMMI, but if you don’t keep up the pressure it will fade away. First thing first, you need to remove the bomb block quickly, and get through that space.
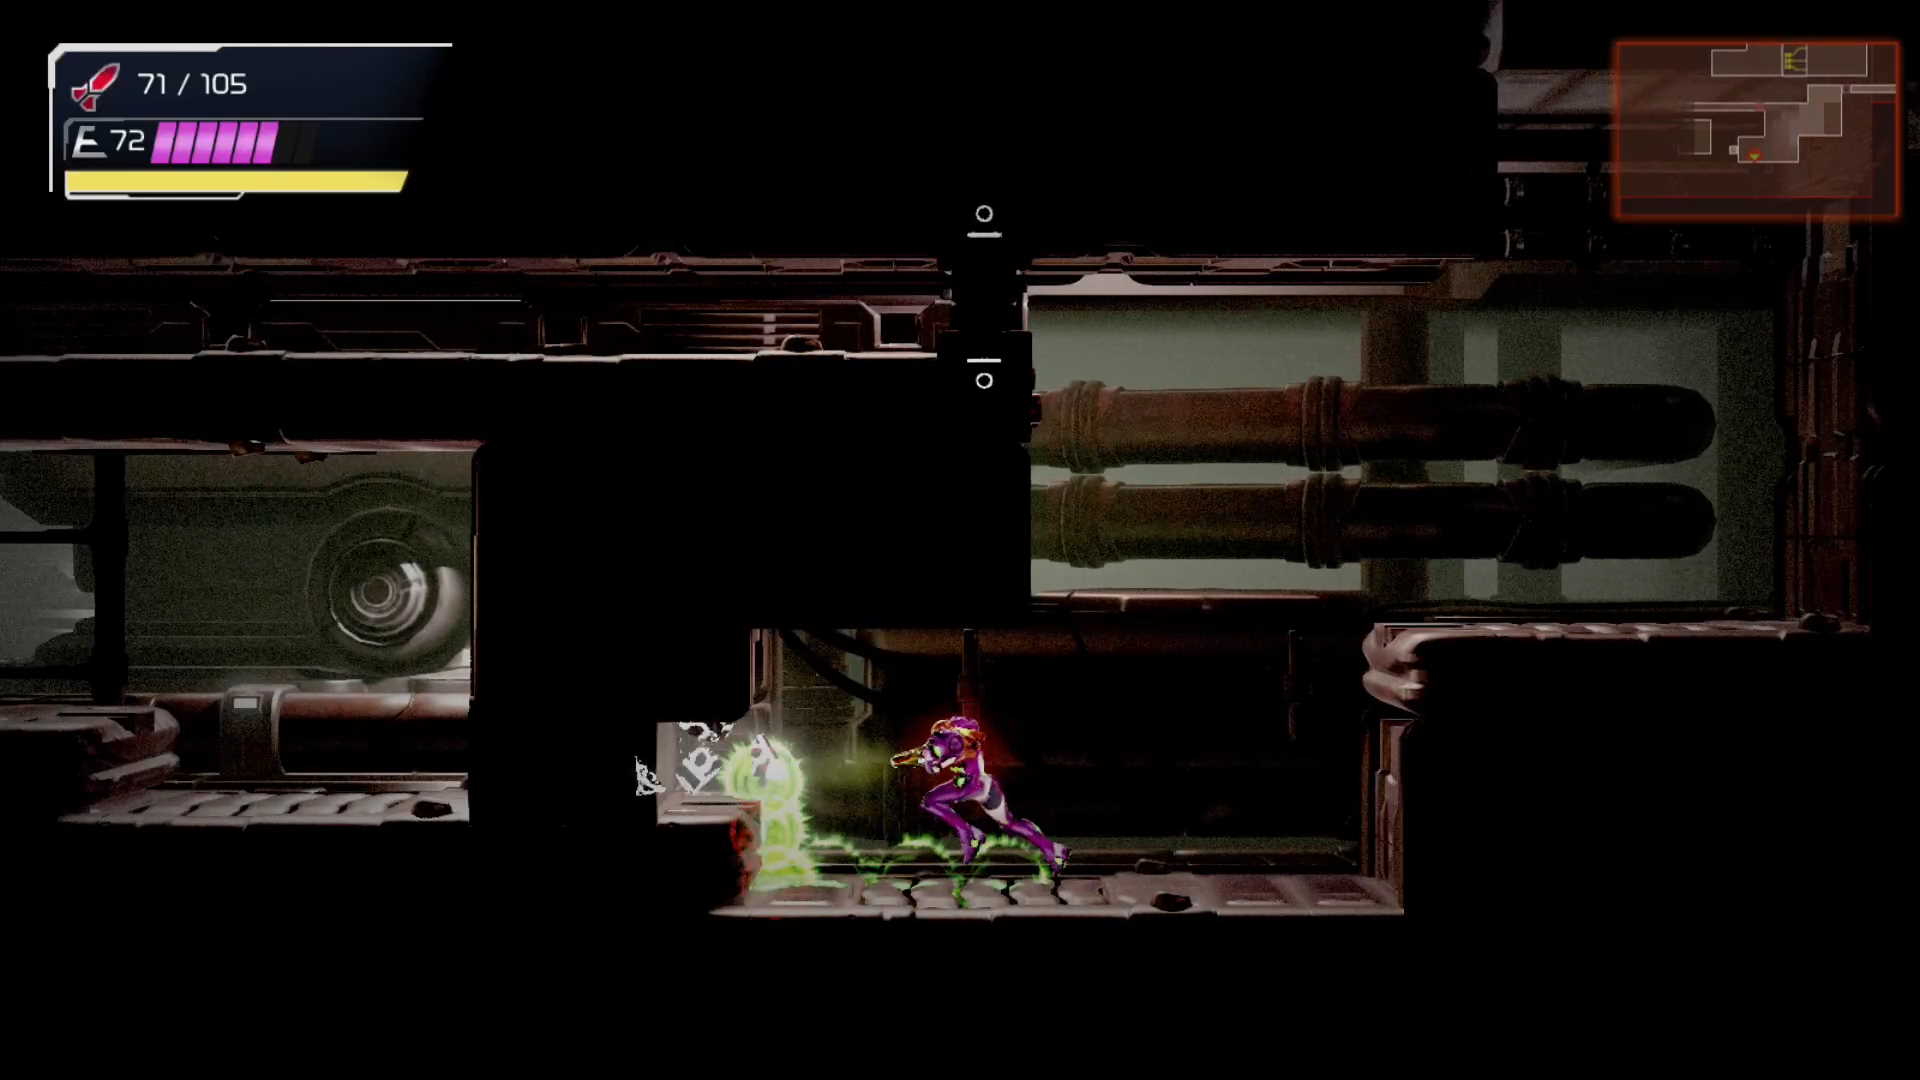
Next you need to quickly blast the tri-blast box that is the next obstacle. Don’t be tempted to go any further than this, because you don’t need to. You’re creating space to be able to kite the purple EMMI back and forth and destroy it. This is all the space you need.
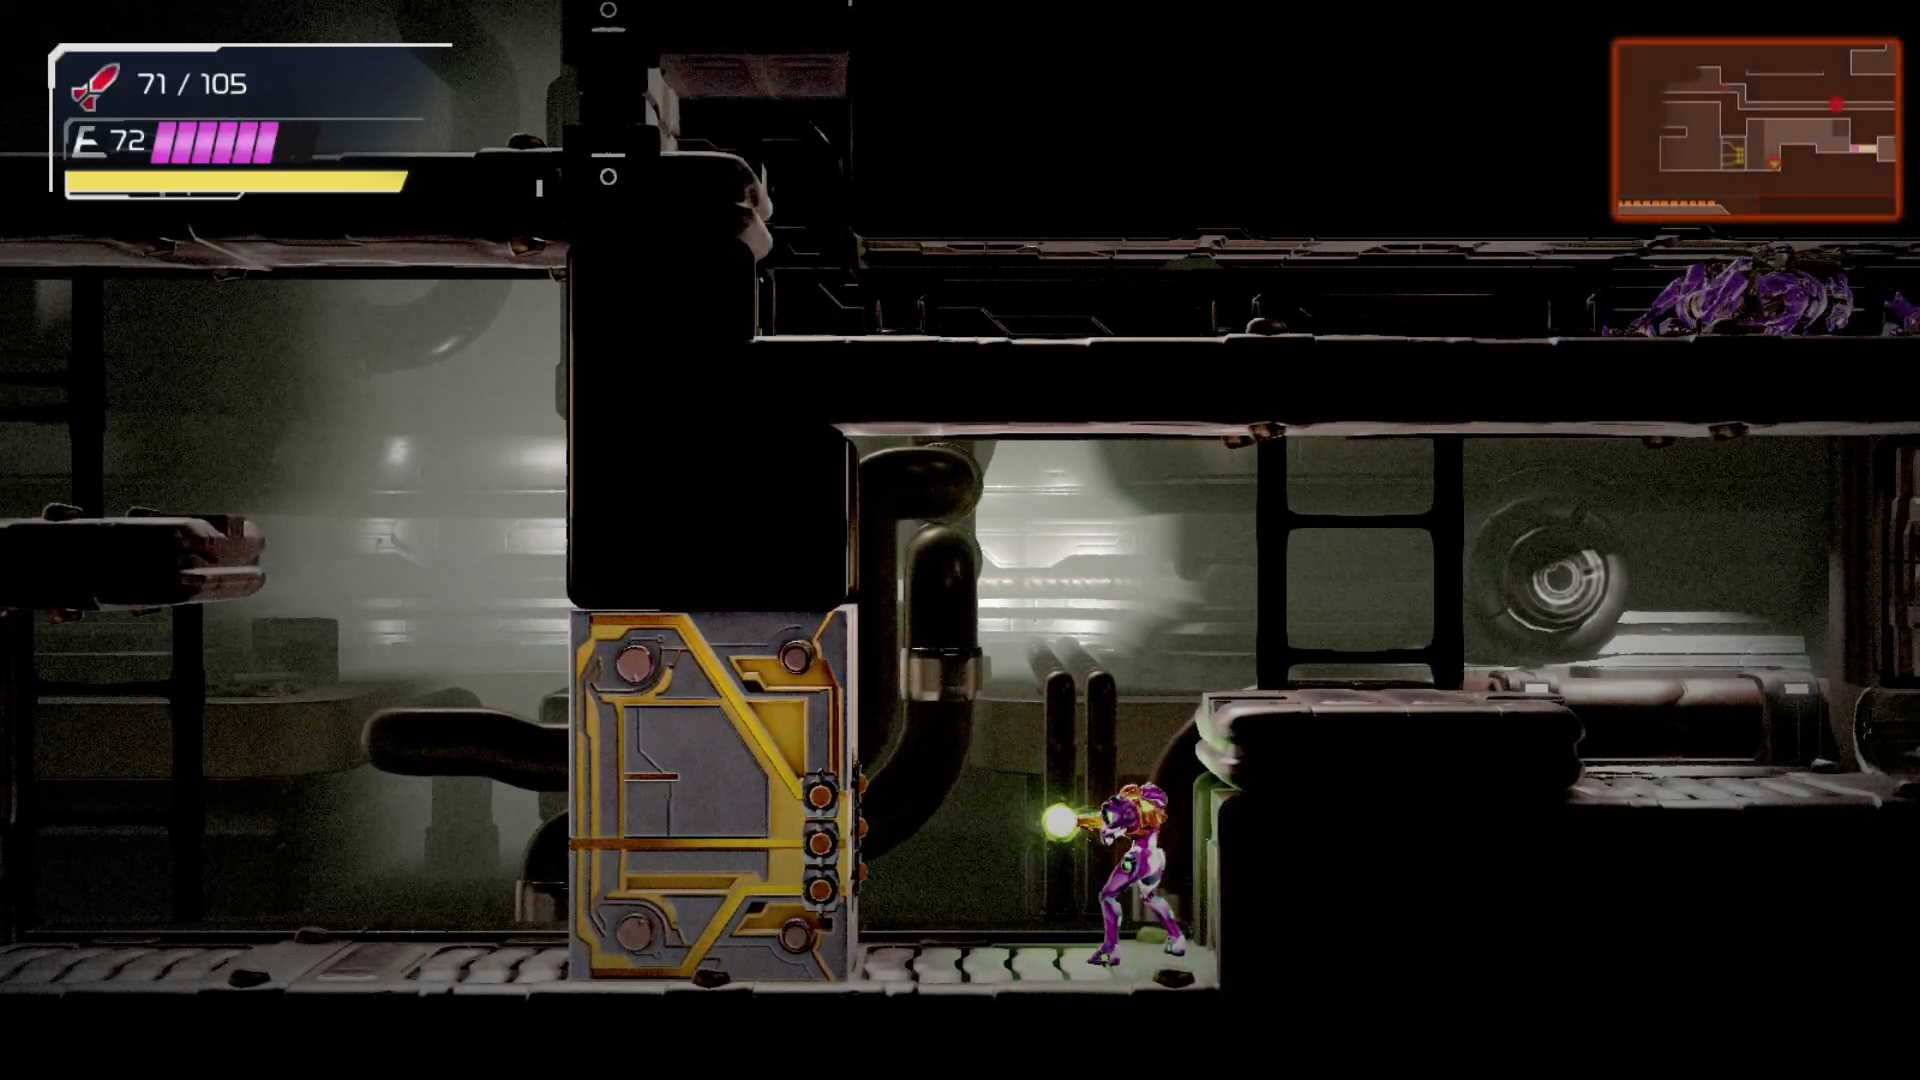
Now it’s time to take the purple EMMI out for good
As mentioned, you have to kite the purple EMMI back and forth, accumulating enough damage to charge your Omega Beam and destroy it for good. Start putting the pressure on by firing at it the instant it breaks through the bomb blocks you had to get through previously.
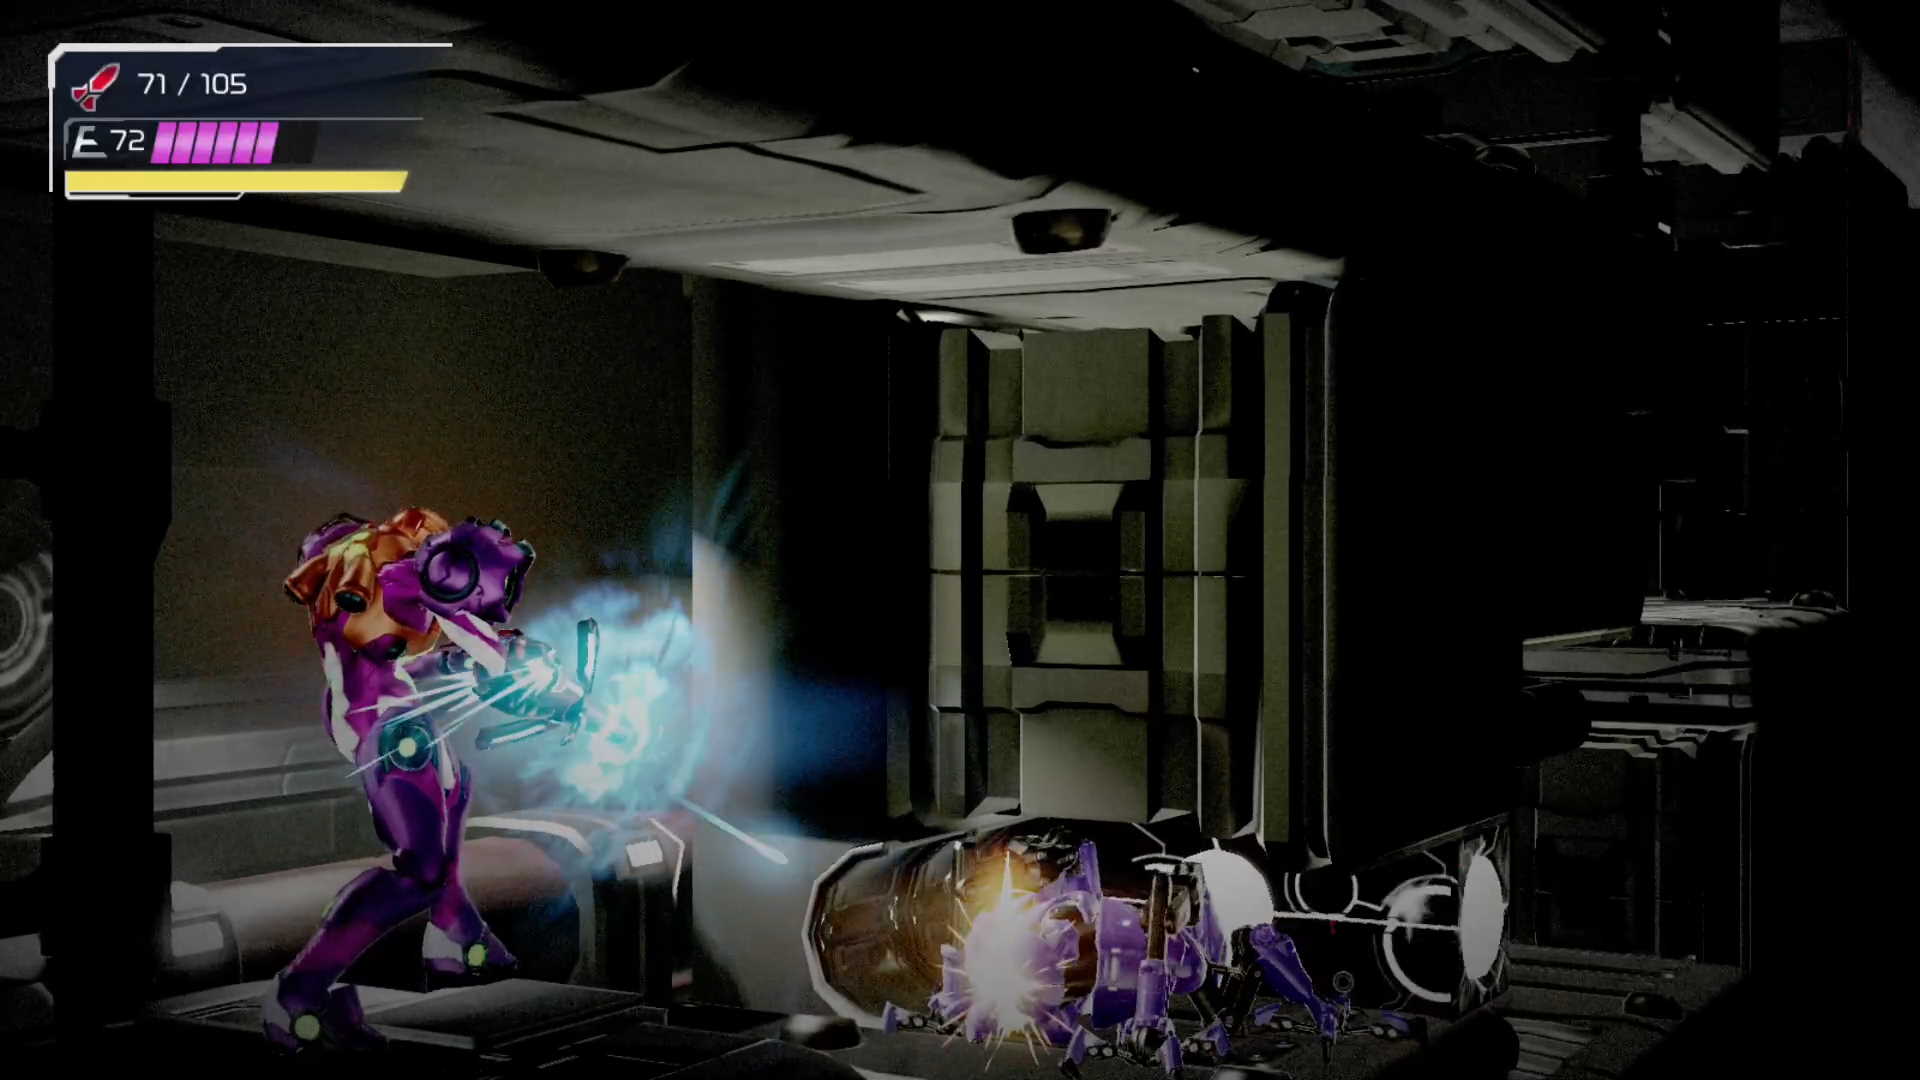
When it gets too close for comfort you can retreat a little, back to the tri-blast box you previously moved. Put some more pressure on the EMMI from this location.
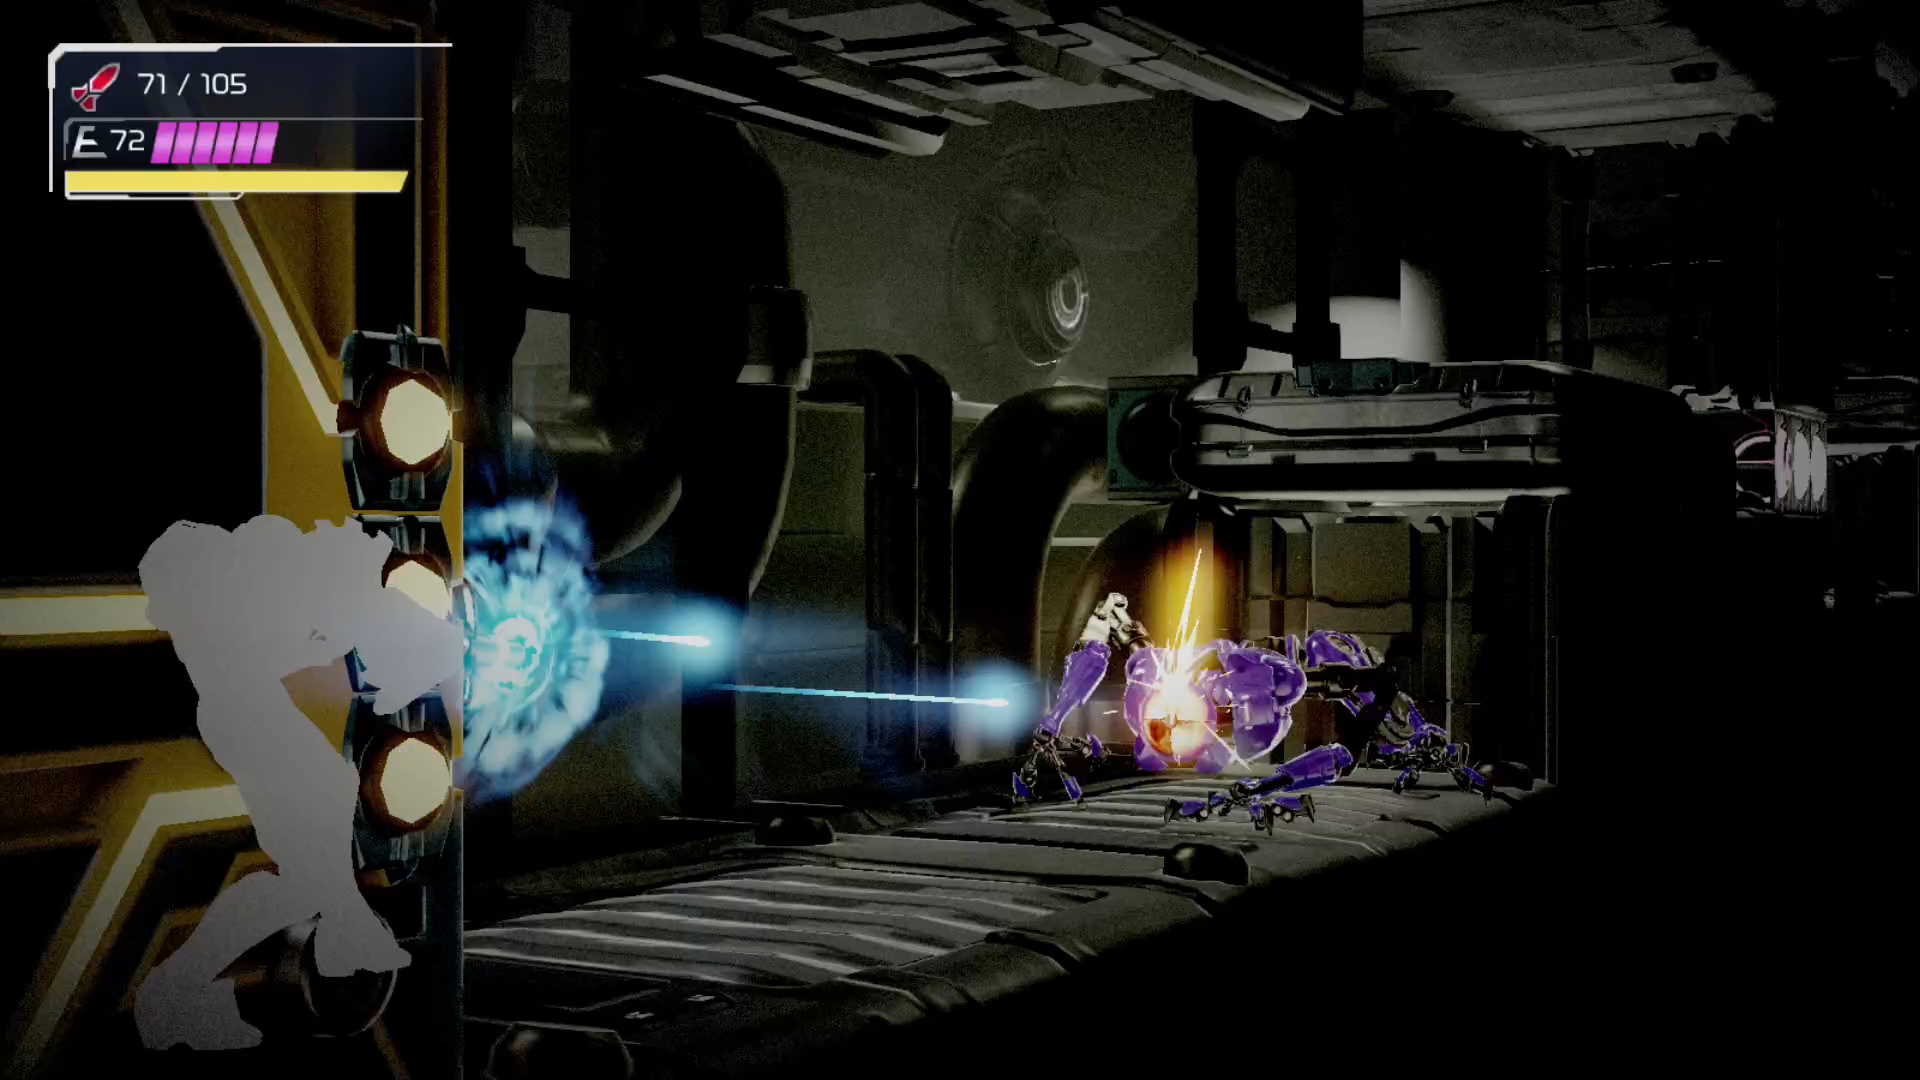
It’s time to move again. So continue to the left with a jump and then you need to jump and dash (with the A button) to get out of the way while the purple EMMI is still climbing up to get you.
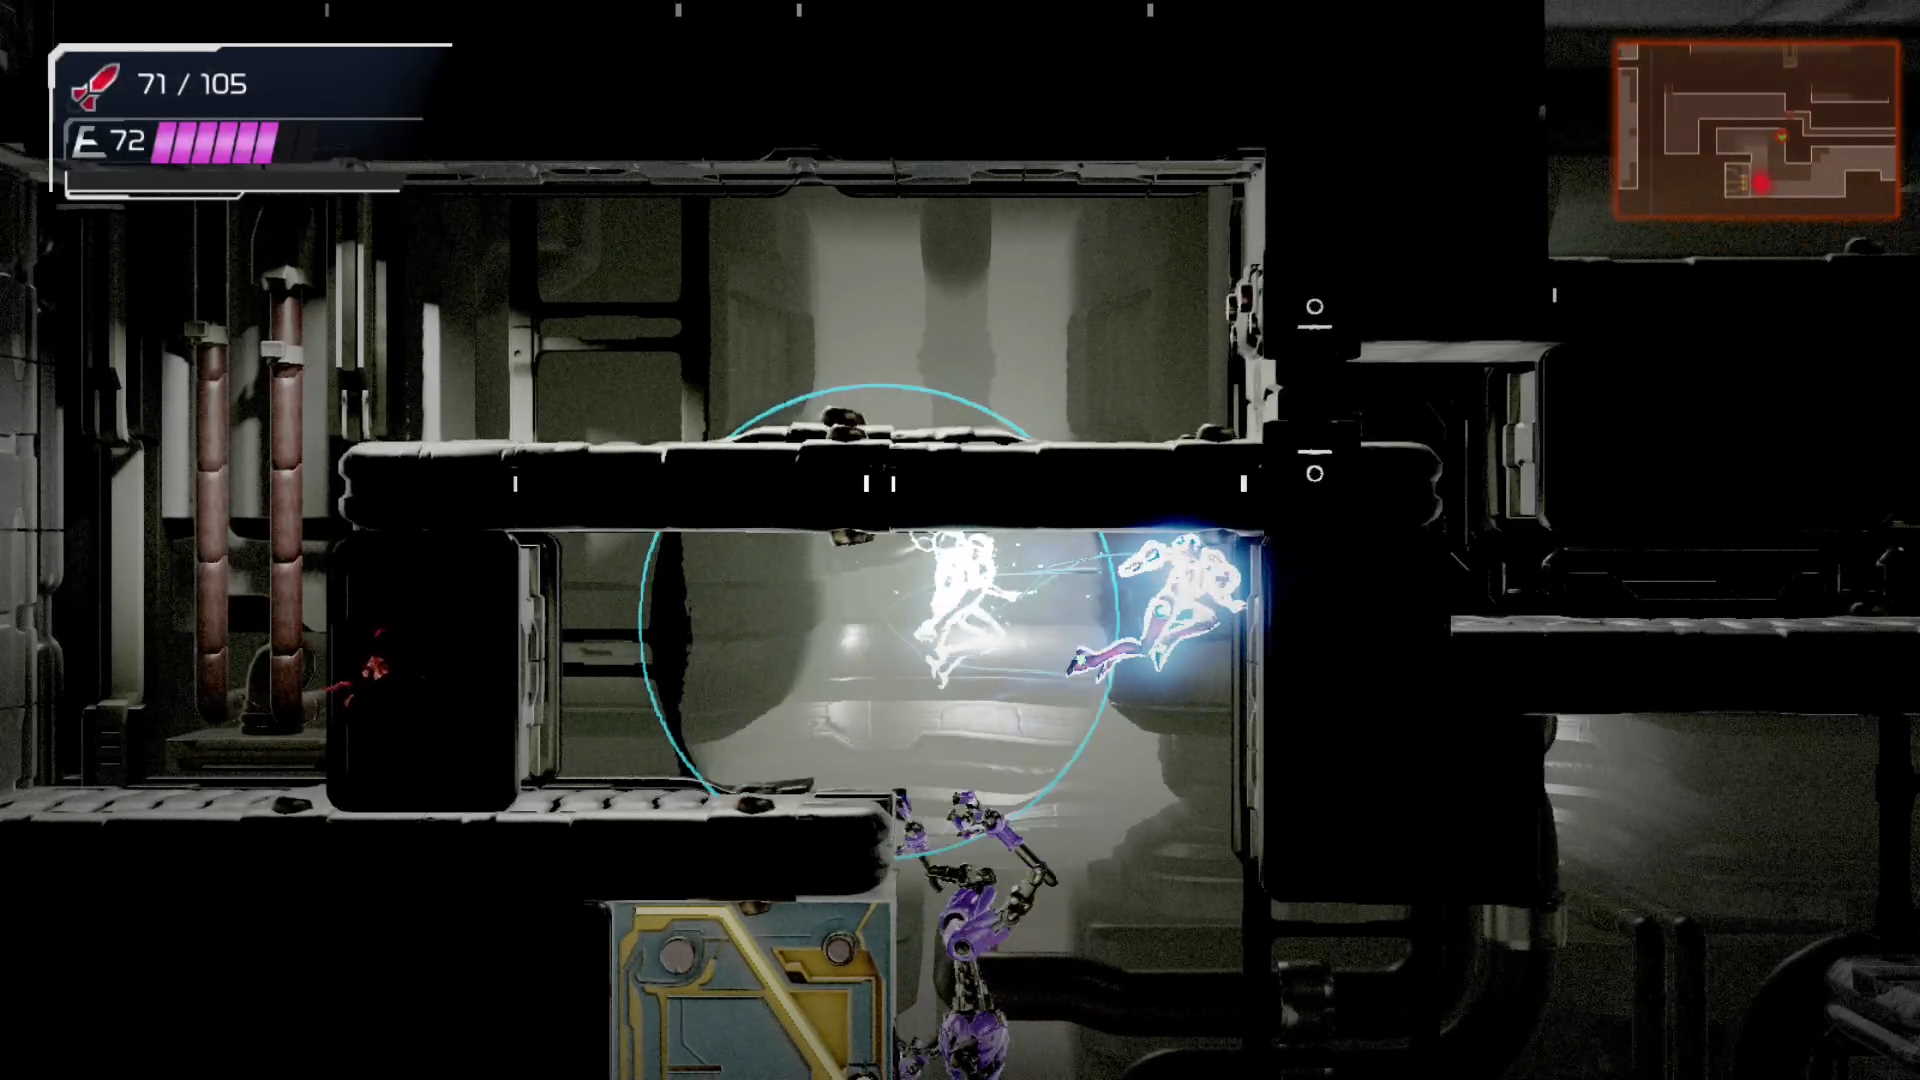
You should be starting to see a pattern now, and we’re going to repeat this until we win. Now you’ll need to get to the wall opposite the tri-blast box and put more pressure on the EMMI, as the picture below shows.
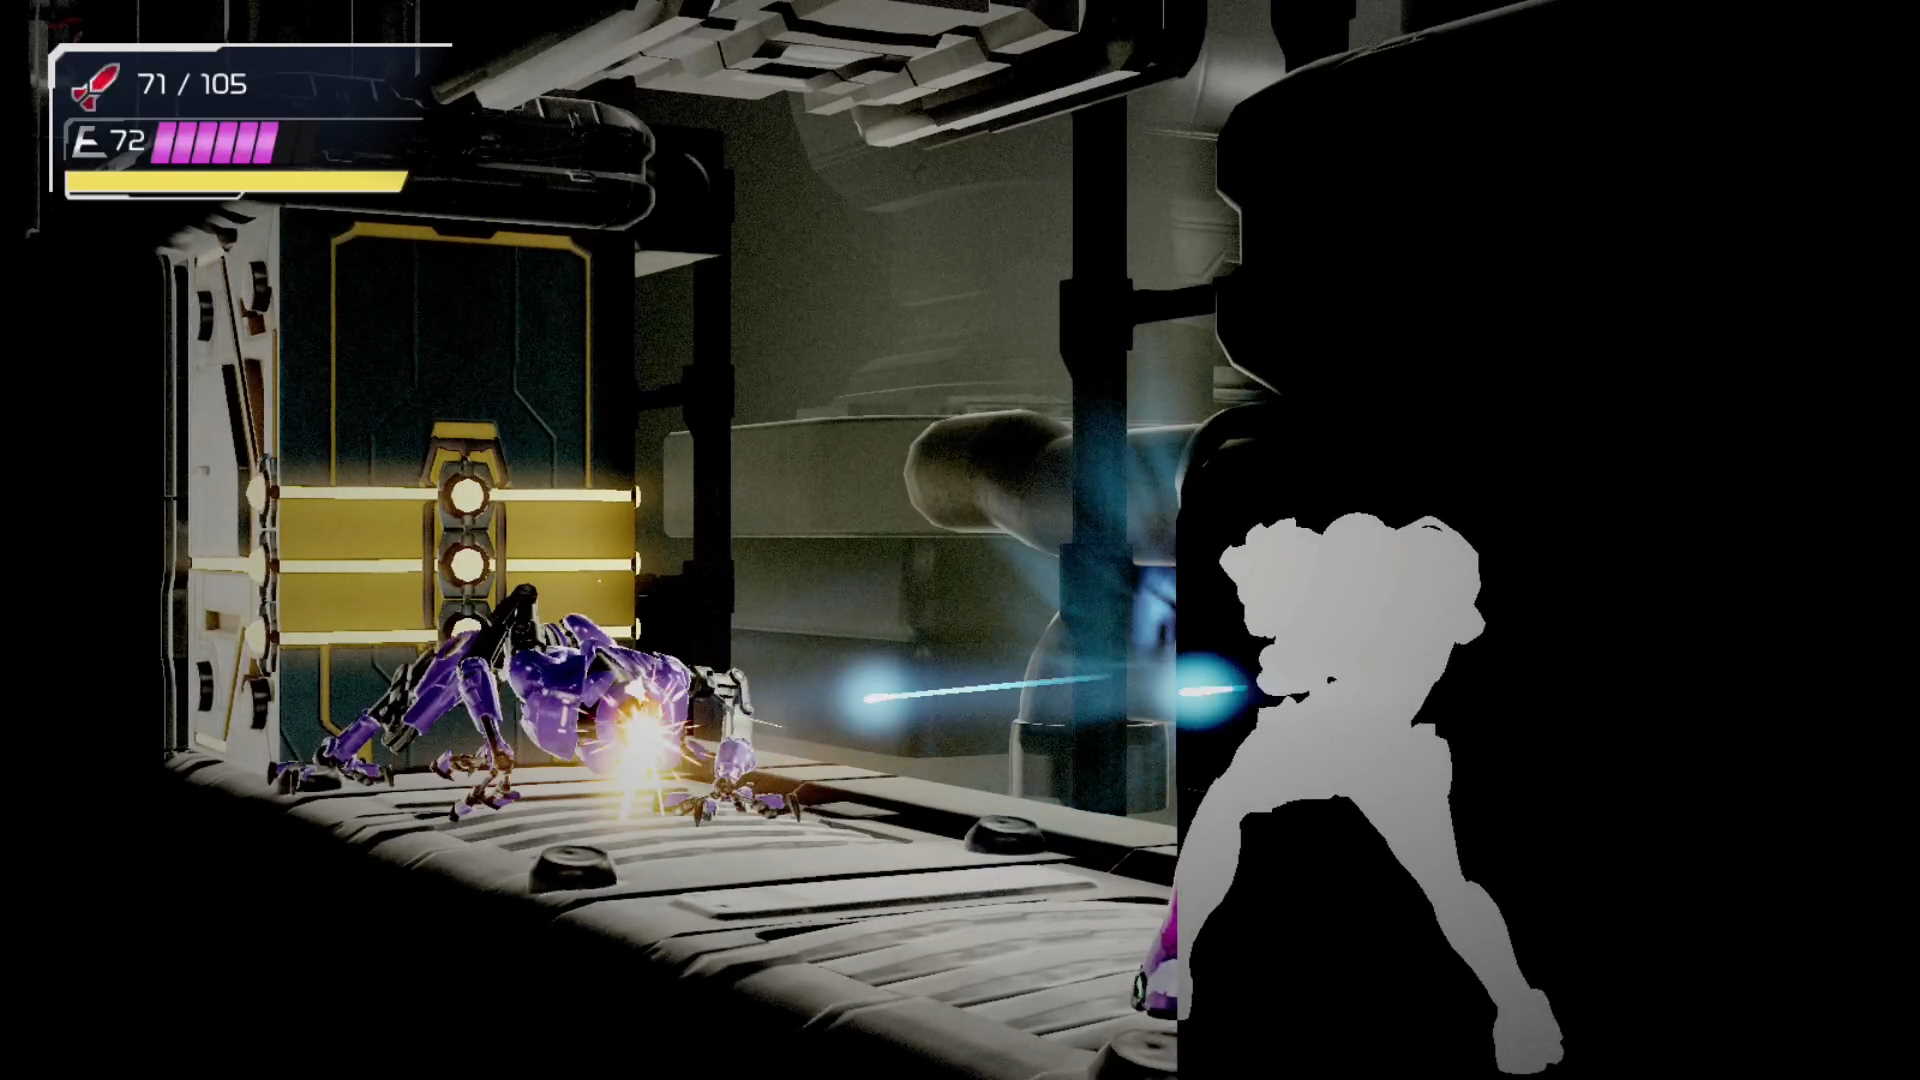
We’re nearly there now in this war of attrition. Keep pulling back to a safe spot and put more pressure on. We’ve got a little route now, and we’re going to stick to it until this robot is dead!
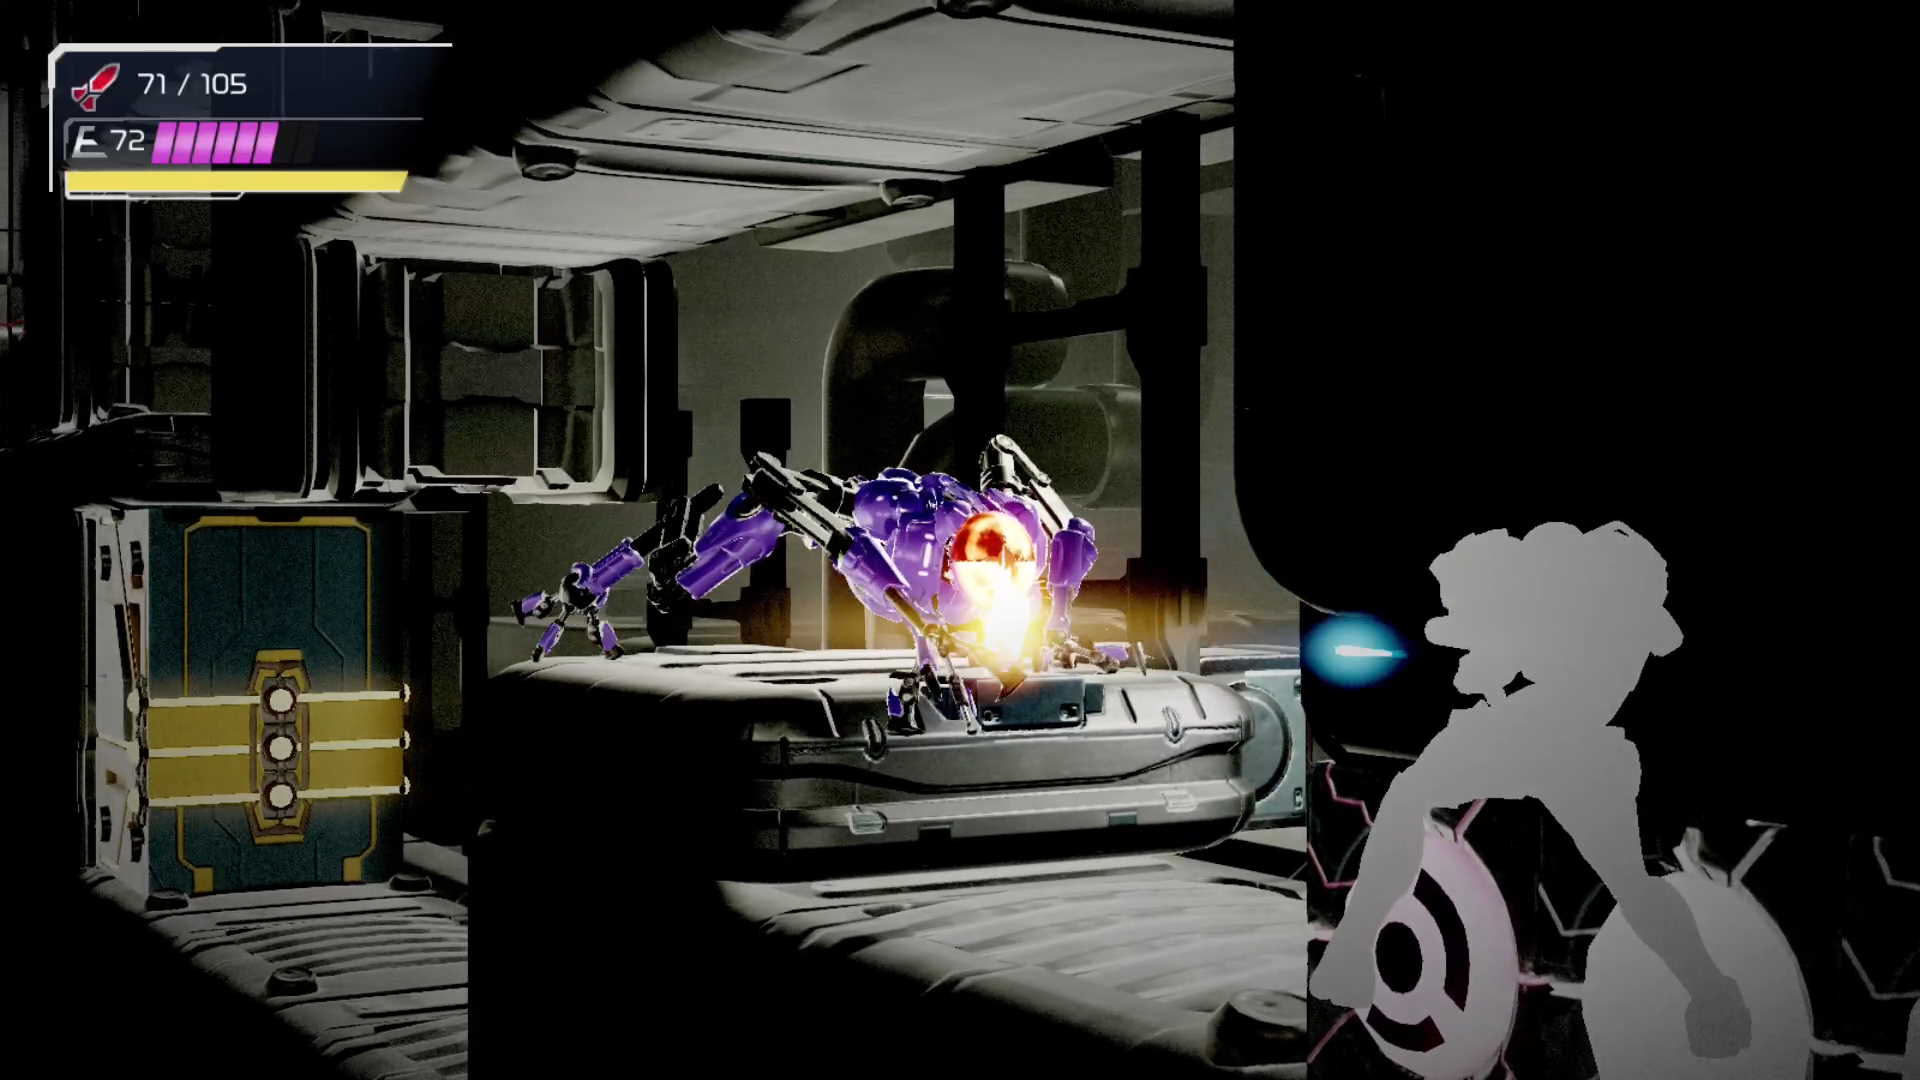
You now need to to one more dodge jump over the top. Wait until the last minute, or until the tension is too much for you, and then jump up and dodge left to get space between you and the EMMI again.
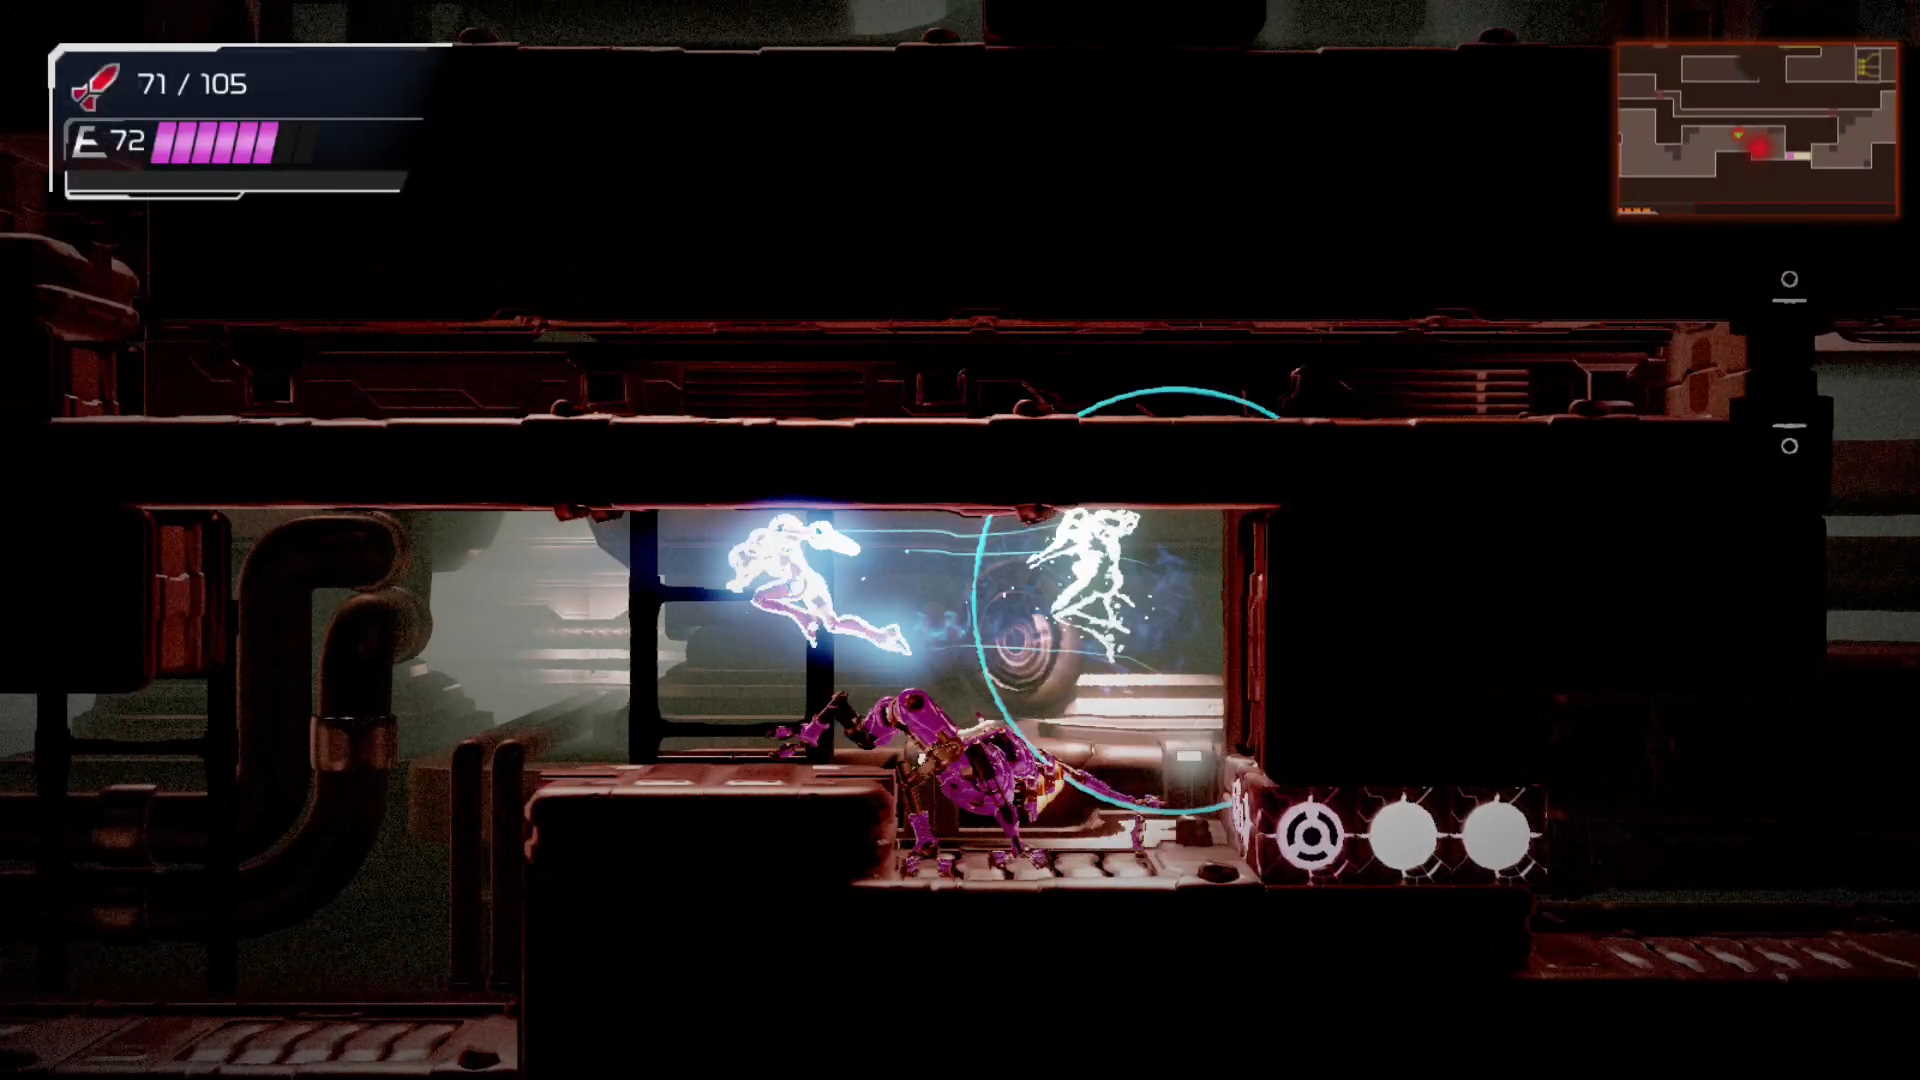
Repeat until the head is vulnerable
You need to repeat this route and pattern until you finally shoot the protective surrounding of the purple EMMI’s head away. You should then get space to you can charge your Omega weapon up. This is where we did that. Remember you now need to hold the R shoulder button to charge it up.
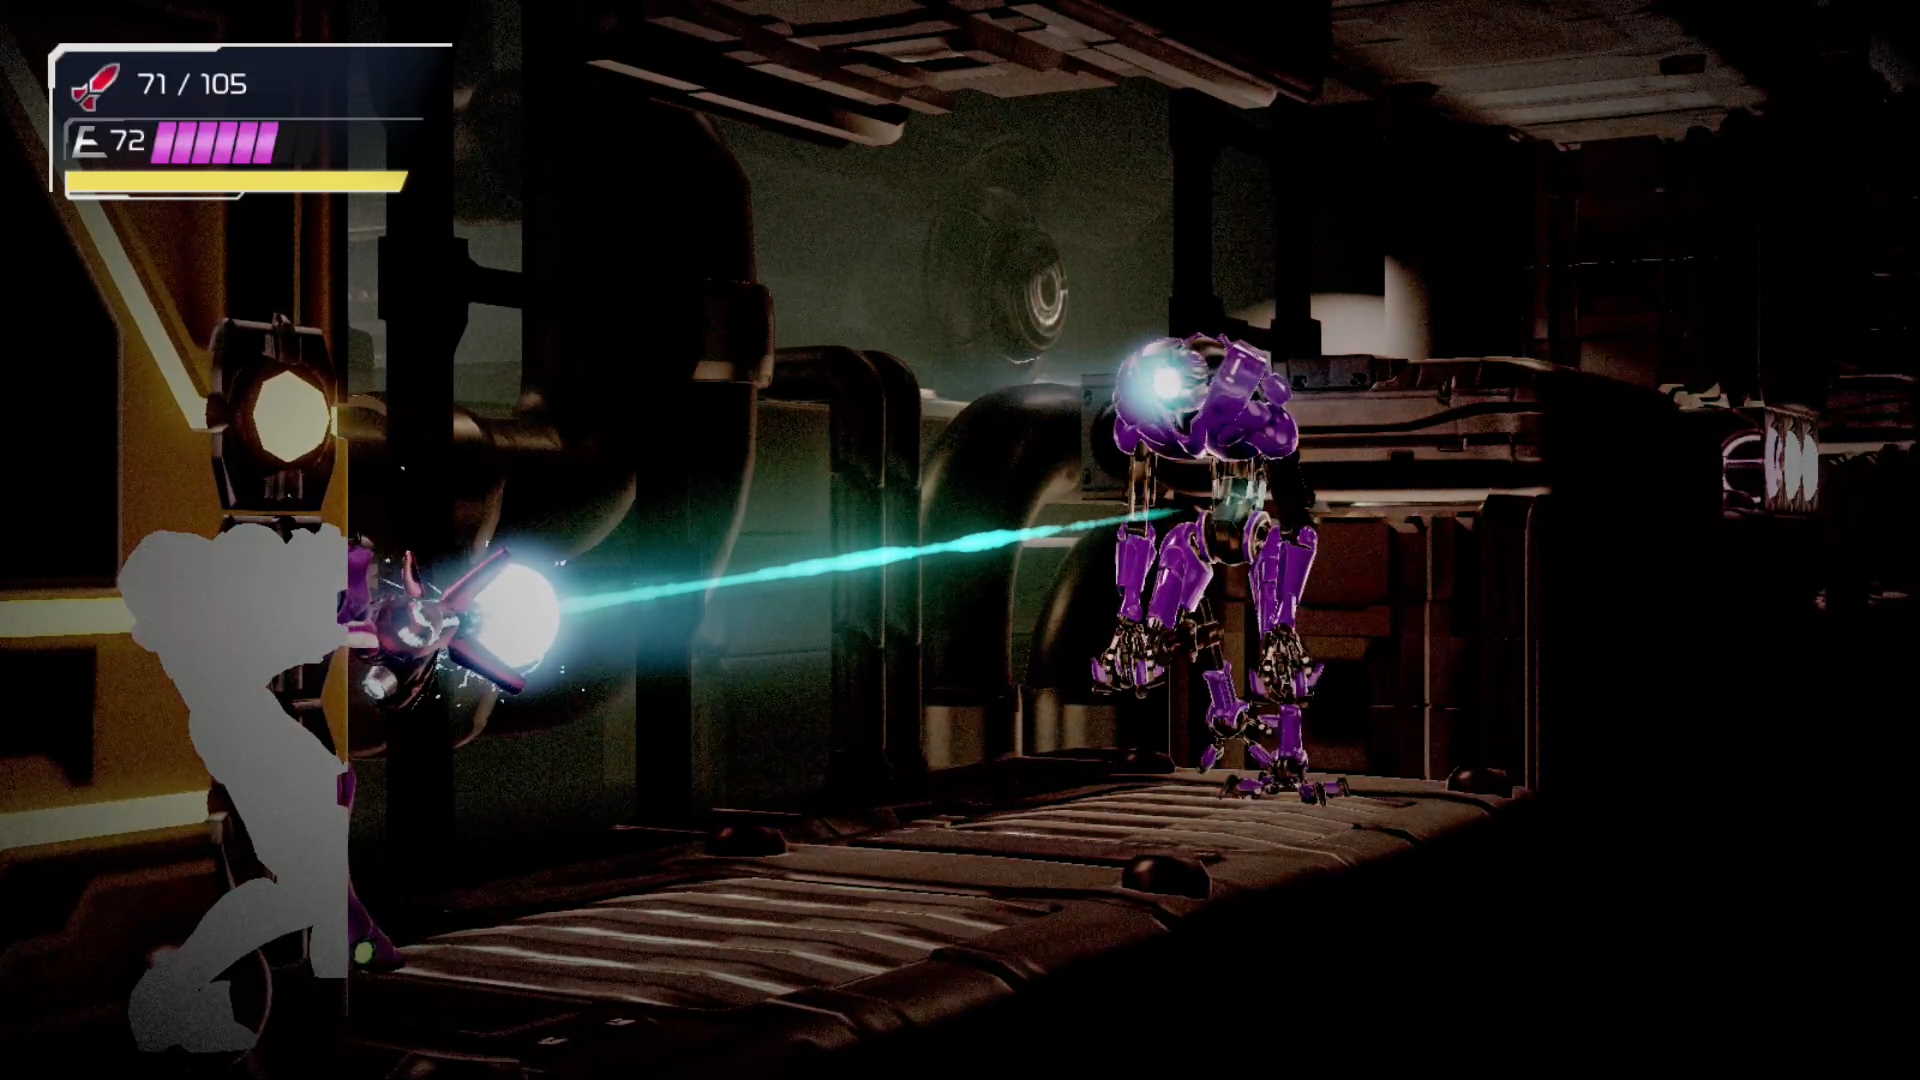
And that’s it. You’ve defeated the hardest EMMI in the game, and got a fun new ability thanks to it. Well done!
Metroid Dread is out now for Nintendo Switch. Watch our video review of the game (no spoilers) here.


