Metroid Dread: How to beat the final boss
Metroid Dread is a game full of boss encounters, but none harder than the final boss. Some of them are easier than others, and there’s one encounter with a Purple EMMI that will have you pulling your hair out.
But before we get into what, where, and why, the Metroid Dread final boss is a major spoiler so please do not go ahead if you don’t want things ruined for you. This guide is for people who have gotten to the fight and just can’t get passed it without a little bit of help. Seriously, even the image we used for this guide at the top is non-spoiler, to ward off accidents.
Ready to go. You sure? Let’s beat that Metroid Dread final boss!
Metroid Dread final boss: preparation is everything
Before we get into the meat and drink of this battle, it’s important you are prepared for the final fight of the game. We suggest having as near as 1000 energy as possible (999 is about the minimum most people could manage with for this fight). On top of that, you’re going to need a lot of missiles. Again, our recommendation is at least 100, if not nearer 160-180. Here’s an image of our stats when we beat the boss the first time.
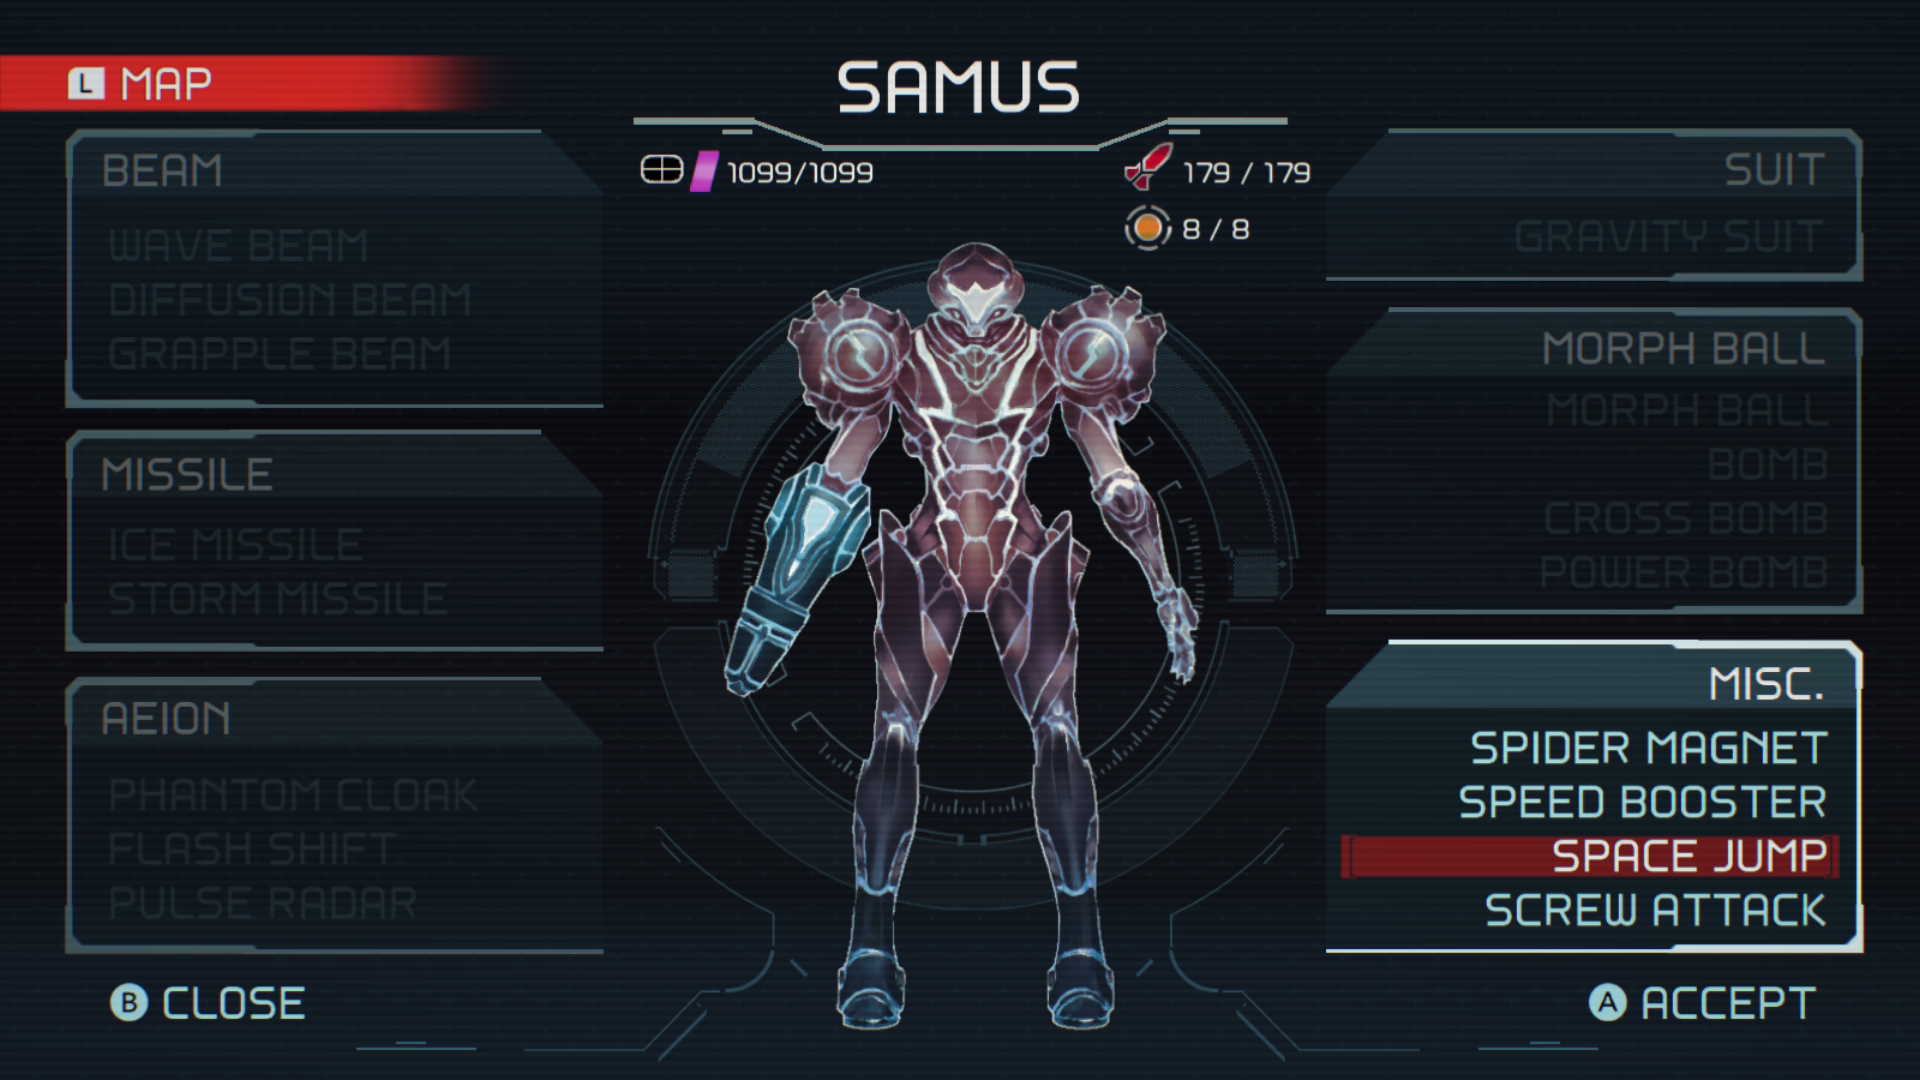
We originally had lower stats than this, but spent an hour going round the large map, cleaning up missile and energy collectibles. It’s worth doing an hour-long roundup here, because it really will make things easier. Also, make sure you have full health and are very well versed in using the “Storm Missile” skill as well as the “Space Jump” ability, and also that you are capable of charging a beam shot while jumping around non-stop. Okay, let’s get onto phase one…
FINAL SPOILER WARNING!
FINAL SPOILER WARNING!
Phase One: Fast and Furious
While the first phase of this fight might seem hard, you can actually beat it in record time if you know what you are doing. There are a few attacks to be wary of, so let’s get into that first. Raven Beak is fast, and has two different attacks that will hurt you. While we recommend having high energy count for this fight, really, if you’re taking too many hits it won’t matter how much you have. Avoidance is the key strategy here.
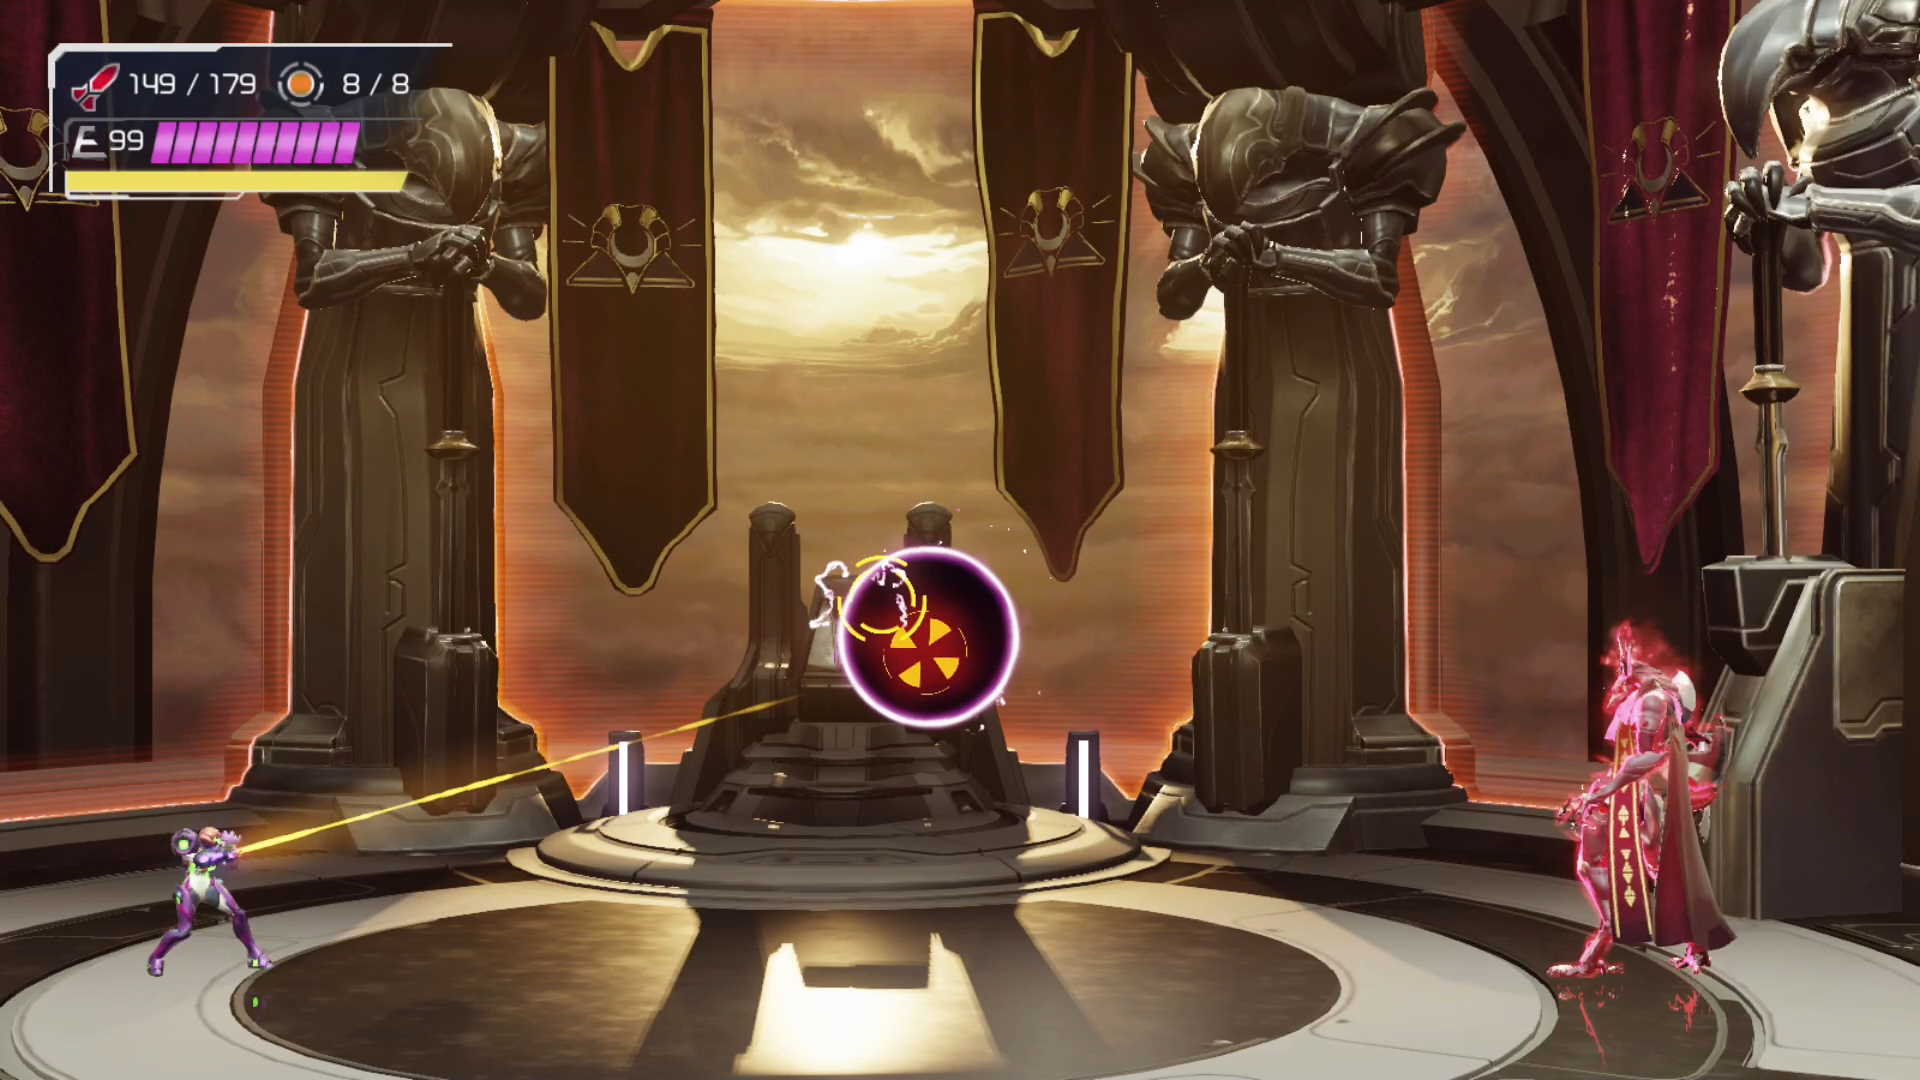
There’s a tell before one of his worst attacks, as he will charge slightly then launch at you across the entire screen. You can parry this attack if you time it right, but if you’re looking at a guide, it might be best to just jump over it. Never get close to Raven Beak, except for when he points his hands to the sky: here he will do a massive area of effect attack that you must get close to him to avoid. Use a fully charged Storm Missile attack to get a few hits in easily.
Phase One: How to do damage
If you do get close, he will swipe at you once or twice, so stay in the air and get some space between you and the boss. This entire phase you want to be holding down the “R” shoulder button to be constantly charging that Storm Missile attack. Any time you get a chance, aim at him and unleash the storm. The other move to watch out for is his purple sphere attack. Often used in conjunction with his AoE one, shooting this ball of purple energy can net you health and missiles back.
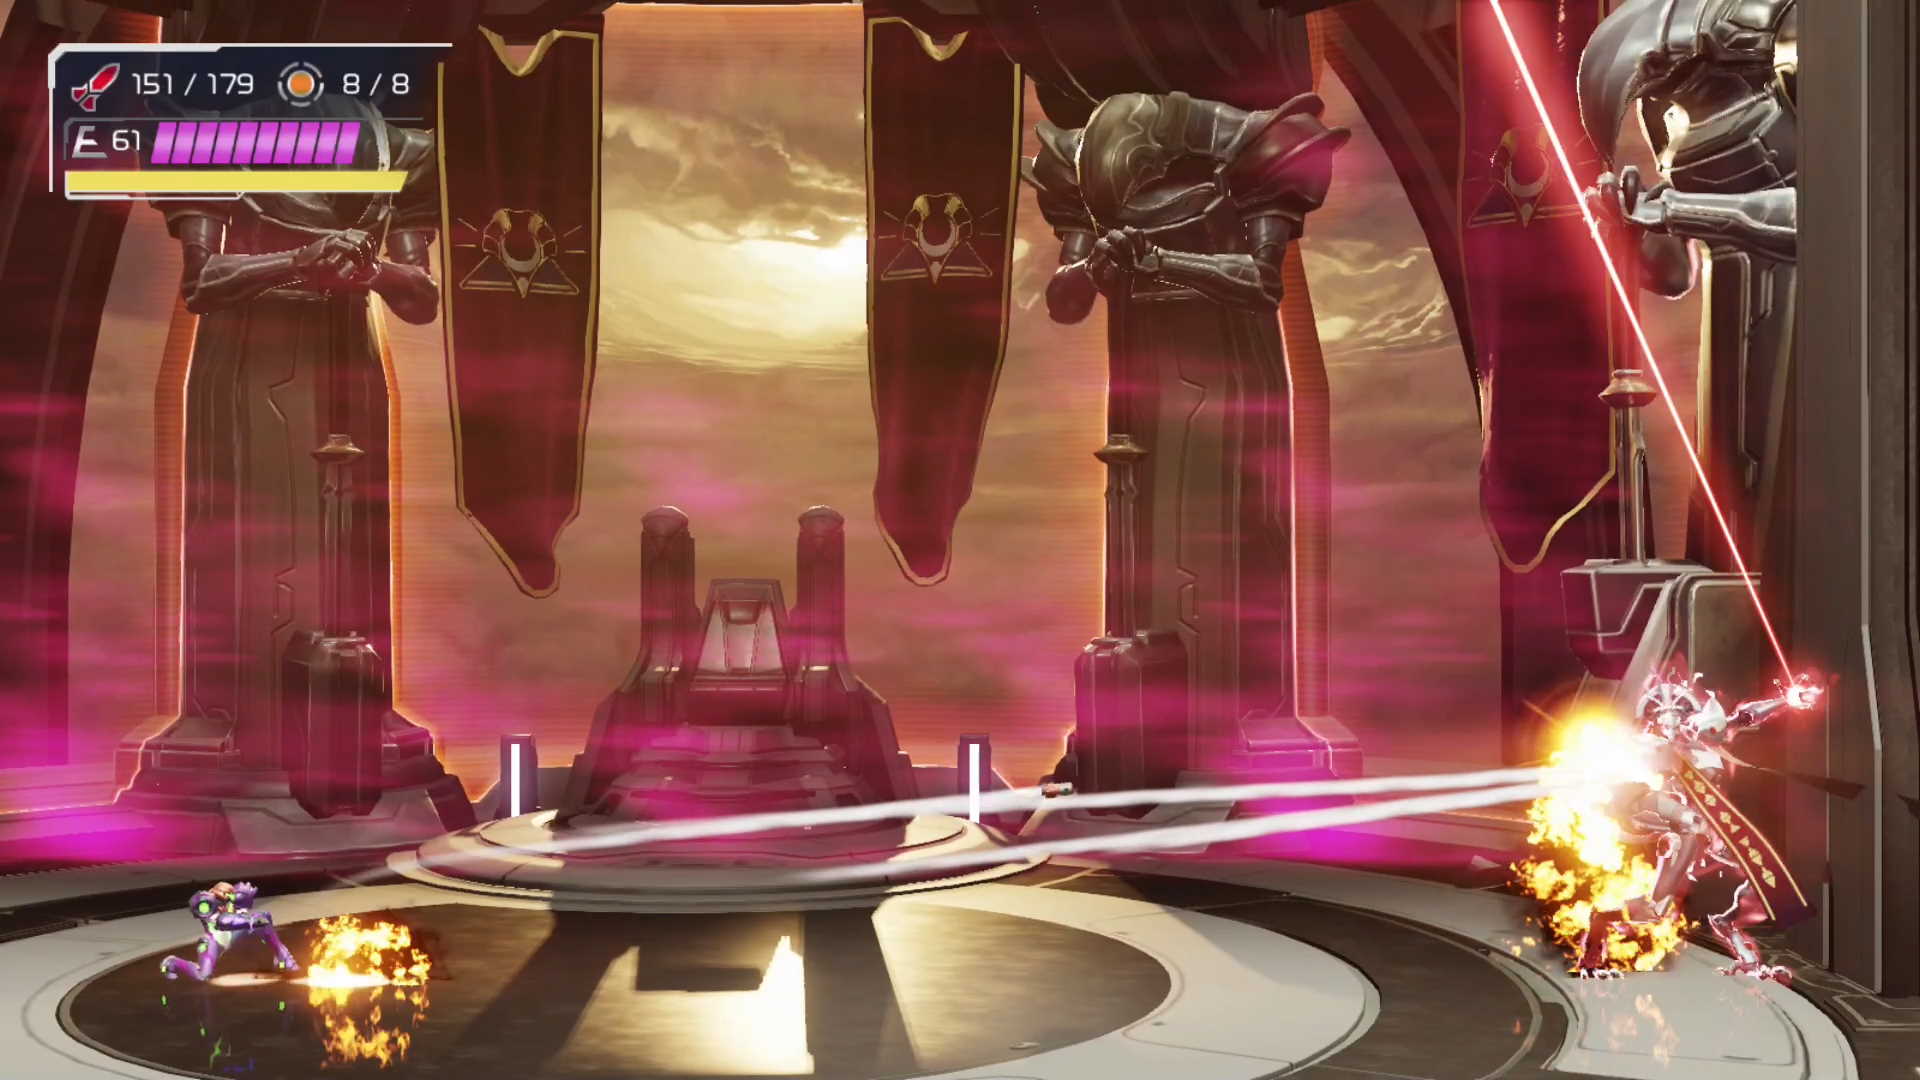
After a few rounds he will do an attack that fills the entire screen unless you are ducking. Do this and you will get a small scene which you can “parry” his attack. Repeat the above, avoiding him and laying into him until he taunts you, whereby run to him and melee, then watch for the glint and melee again. Congrats, that’s the easy part done.
Phase Two: Take to the Skies
If you took damage you’ll get some health back, as well as rockets, thanks to the melee cut scene. Here you want to continue to barrage him with Storm Missile attacks, but also use your regular blaster because he’s now vulnerable to it. He has four attacks when he takes to the sky, and thankfully while it may not seem it, they are all easy to avoid.
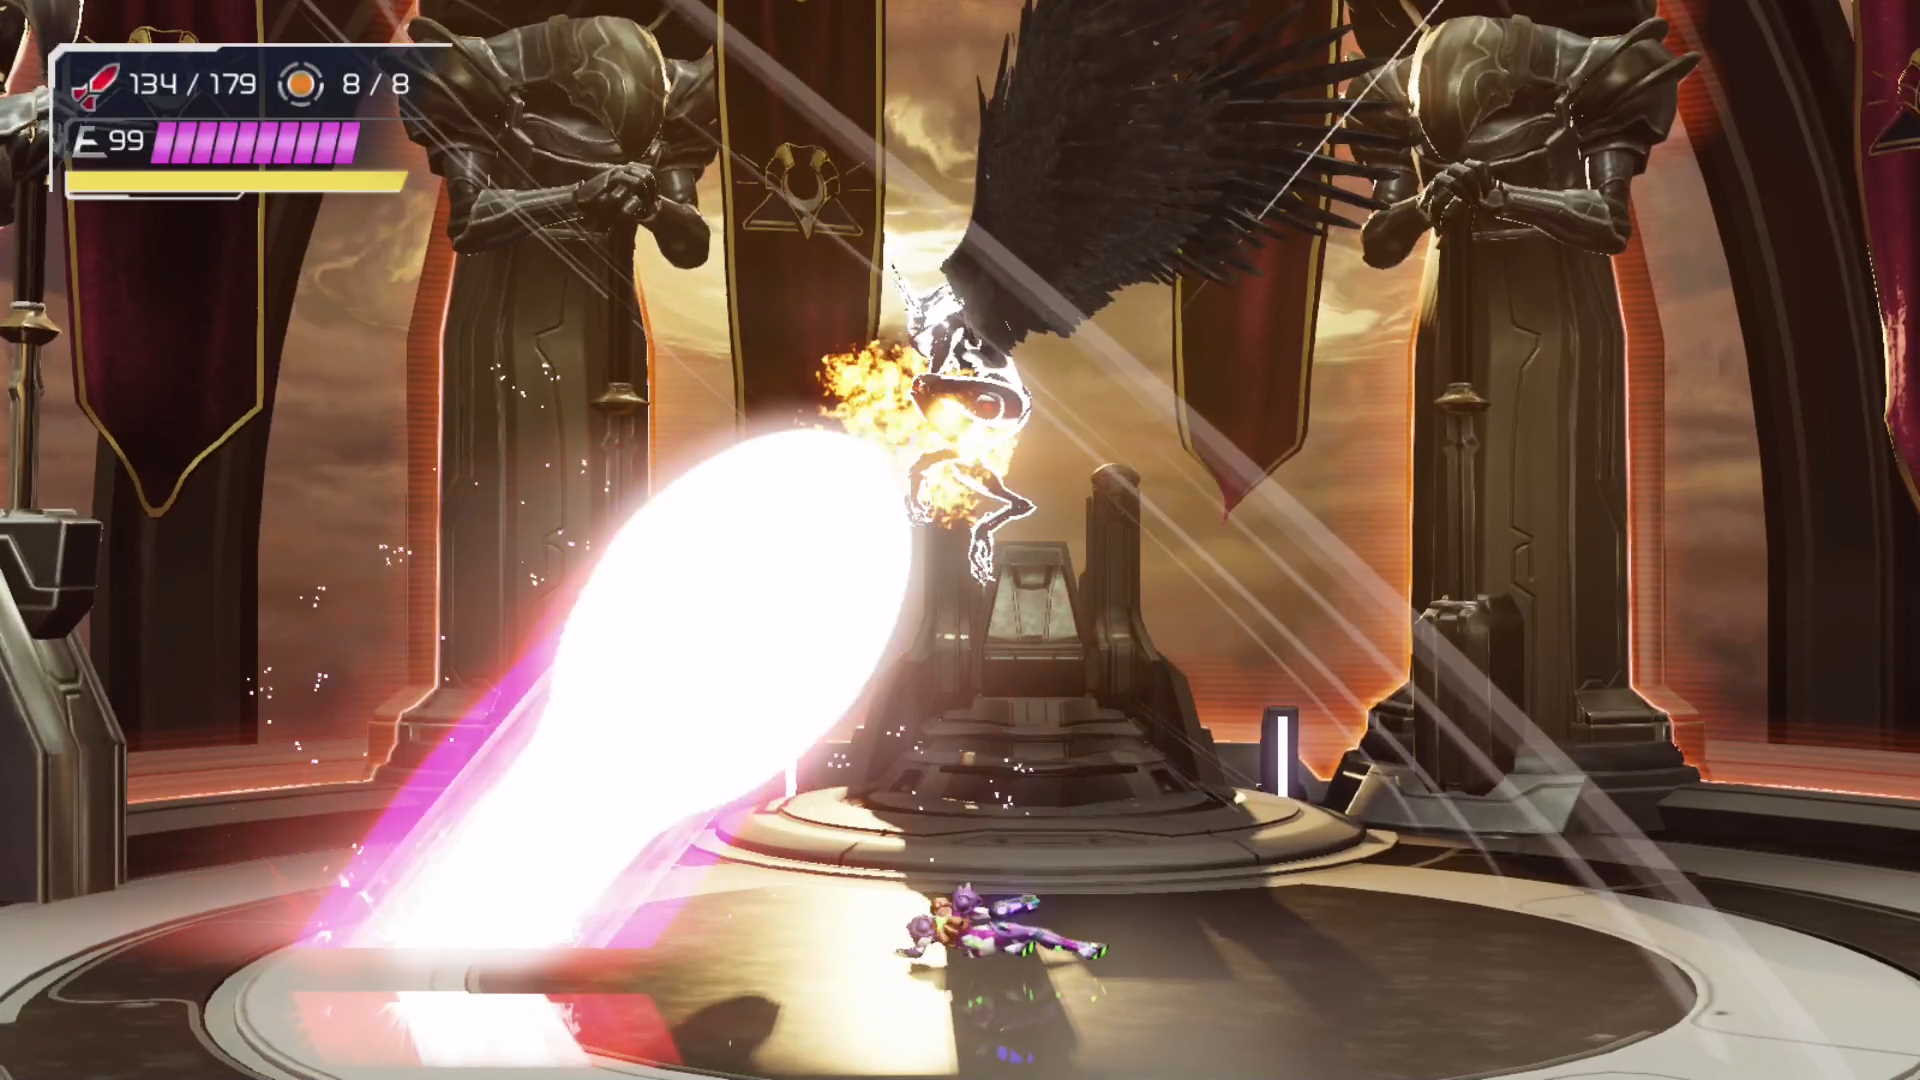
First is his screen sweep attack. Here he will give a tell, as he’ll drop to about the bottom third of the screen. Slide under his attack or jump over it, and use this chance to get a few hits in. If he flies to the top of the screen he’s going to do a ground pound style attack. Again, slide away, or jump away, and punish him. Last he does a phase blaster attack which does major damage. Slide towards him as he readies it (near halfway height of the screen) and punish with the blaster: you won’t have time for missiles.
Phase Two: How do beat his flying form
Lastly he has a move where he’ll hover and shoot you for ages with his blaster. He follows you on a 360 axis, so you must jump three times to get around him. We’d suggest holding the blaster charge down so you can slap him quickly as you fall past him. There’s no easy way to do this, you just have to be decent at jumping, so practice before this fight – the timing is slightly strange.
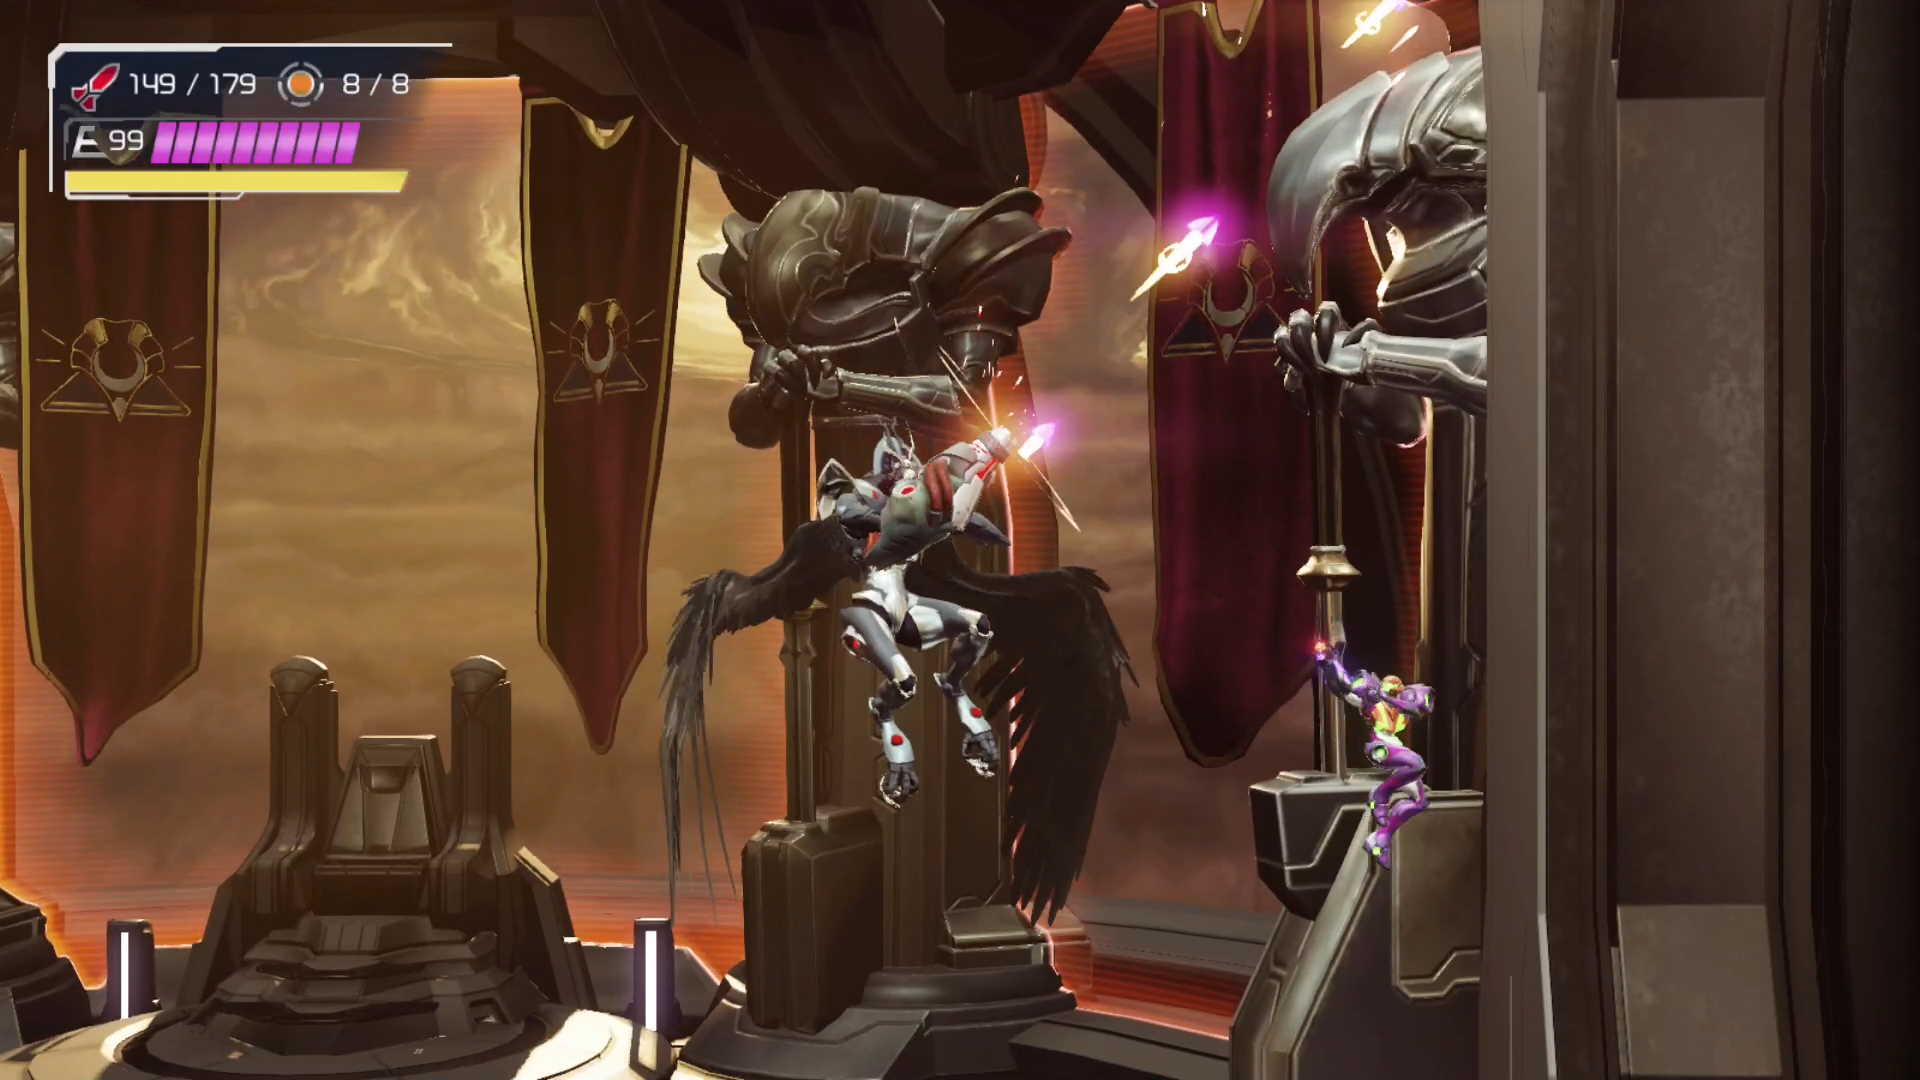
That aside, he will take a tremendous amount of firepower during this phase, so just keep at it. He really does take a lot of firepower to take down in phase two, so don’t think you’re doing it wrong if it takes ages. Repeat to fade, and try to have some missiles in stock for the last phase.
Phase Three: Now he’s angry
The last phase is the worst phase by far. With all of the moves from phase one, he’s now able to summon a giant yellow/orange ball that will spam 3-5 attacks at you, all while he is doing his business on the ground as well. Stay near the opposite edge of the screen to him and jump to avoid both the ground onslaught, and the air attacks. He also has a new beam attack that he will slowly home in on you to fire. This is devastating and needs avoiding at all costs.
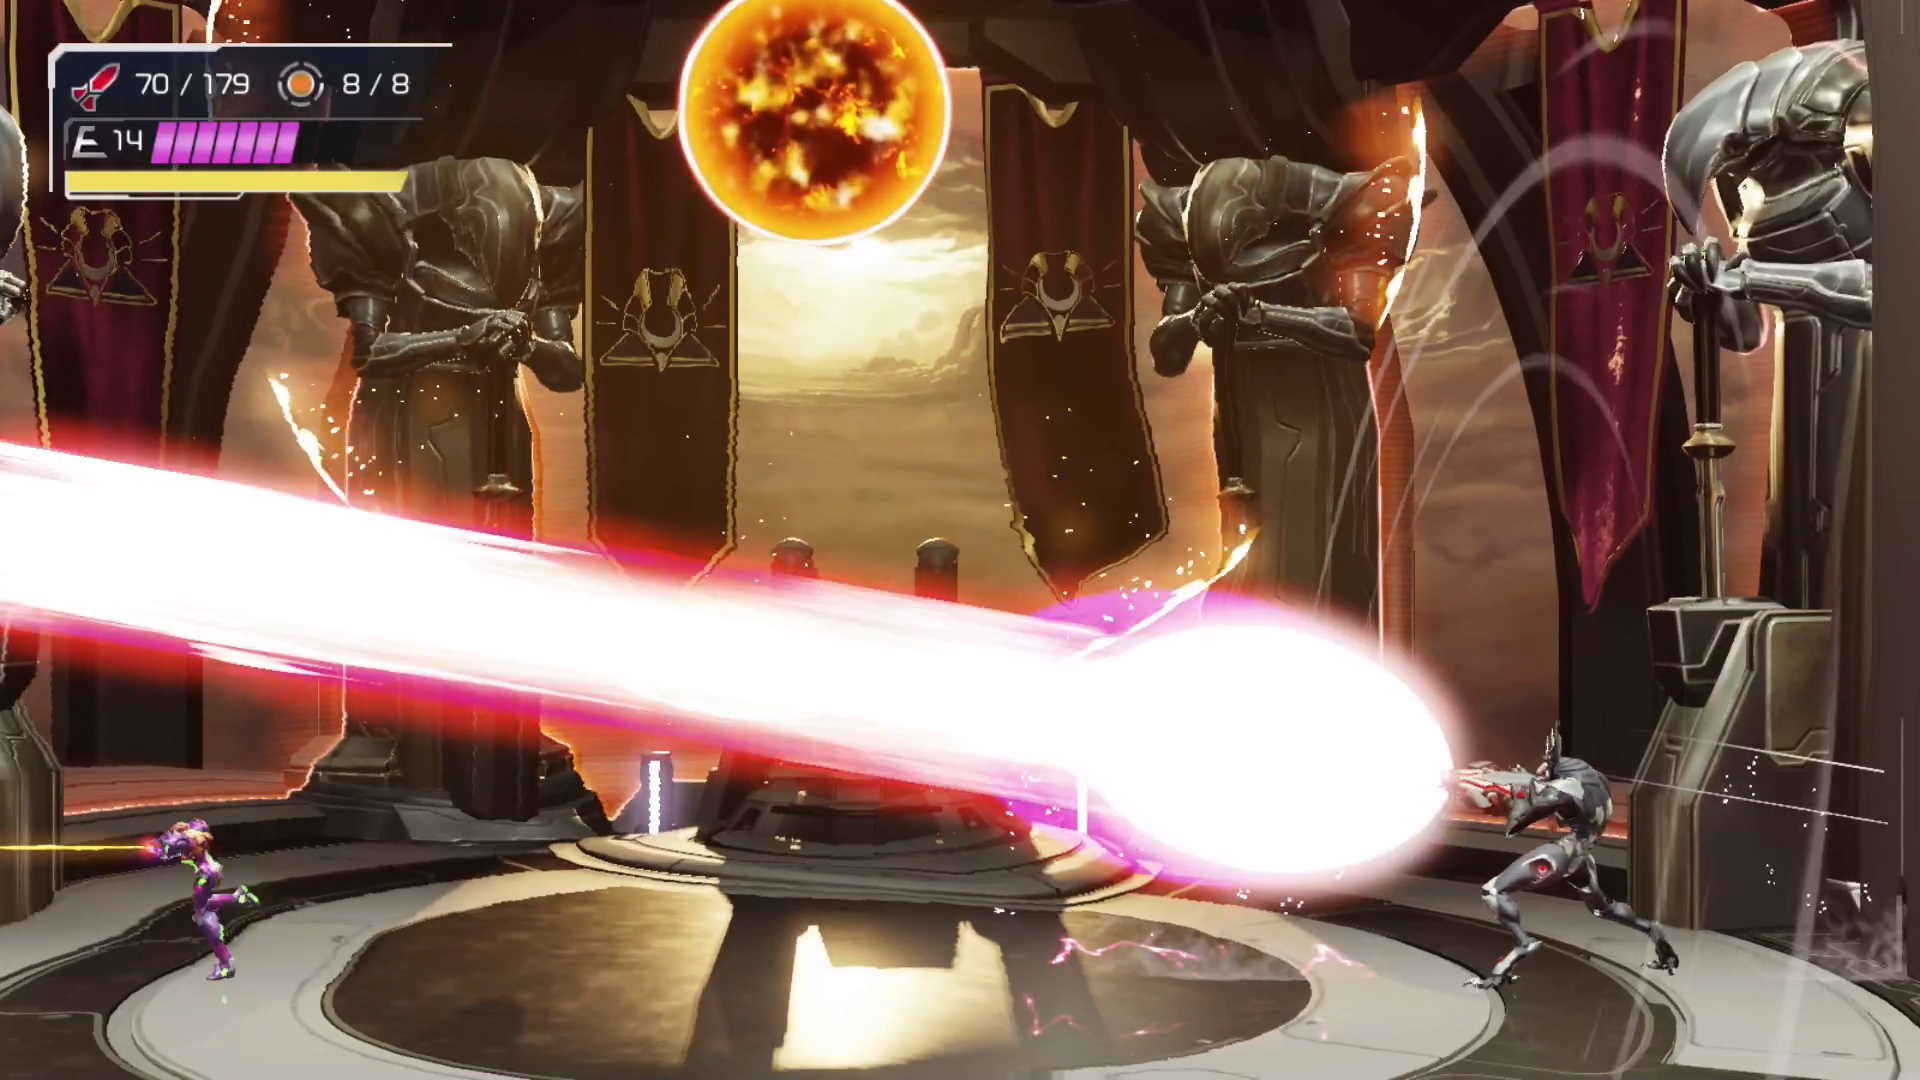
Bait him into firing it above you slightly, so you can charge and fire a missile barrage at him. You’re nearly there, you just have to avoid all the previous attacks, and keep firing. He’s vulnerable to standard blaster fire in this third and final phase. Keep at him, keep avoiding, and you will beat it. When enough damage has been dealt you’ll get one final quick-time/parry moment where you have a nice sized windows. Hit the parry/melee at the moment his hands glint and shine and you’re done.
And now time for something different…
Be aware that after this fight, there’s a cut scene before something else happens. You are in control for this final section and will need to hold the “L” shoulder button down and fire until the enemy dies. Then you must escape the way you came to that previously locked red door which is now, like everything else, destructible thanks to your final form power. Congrats, you’ve beaten one of the best, and toughest games of 2021!


