Monster Hunter World: Iceborne Safi’jiiva Siege Guide
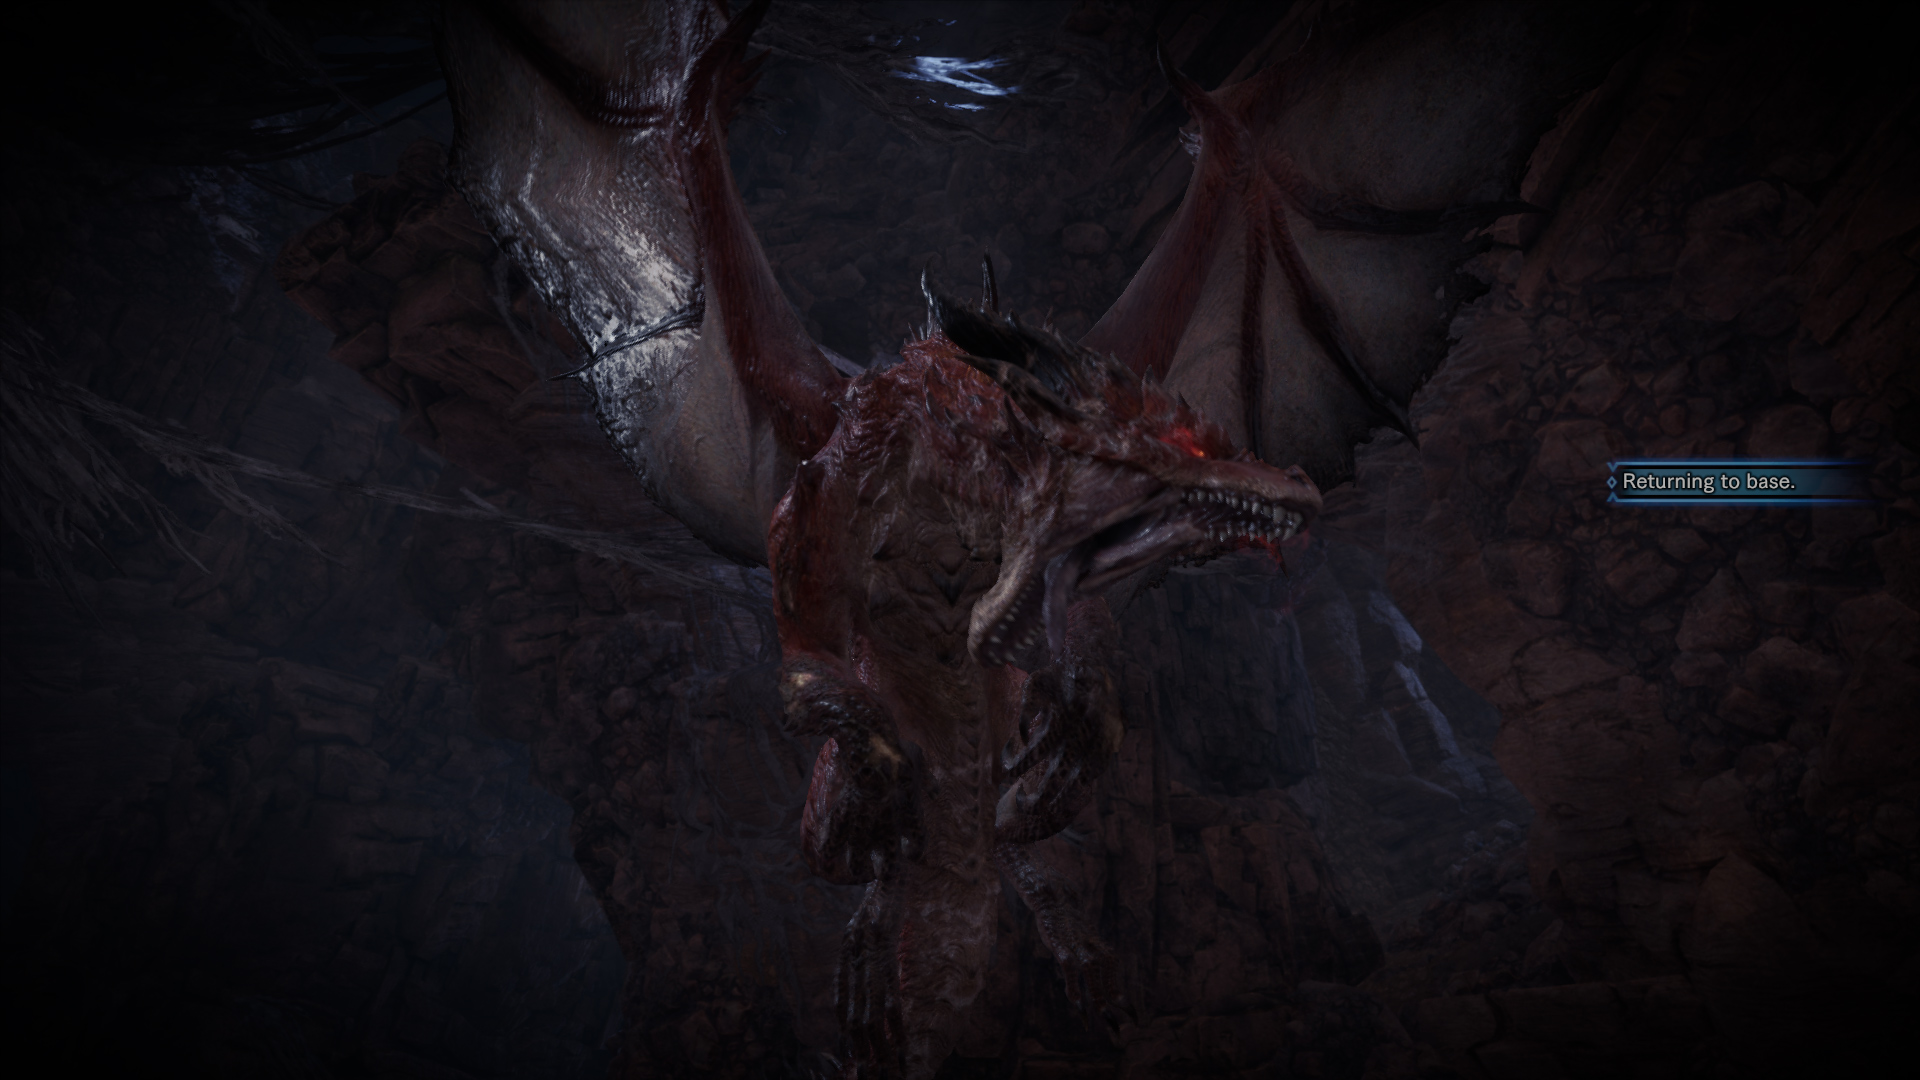
Monster Hunter World: Iceborne update 12.02 brought in the second part of the Horizon Zero Dawn: The Frozen Wilds collaboration quest and the new siege monster, Safi’jiiva. The Safi’jiiva siege is available on both PS4 and Xbox One right now and will be available until January 5, 2020.
How to unlock the Safi’jiiva siege
To unlock the Safi’jiiva siege, you need to have completed the “Across the Lost Path” special assignment (indicated by a purple “!” in Seliana) to hunt a Stygian Zinogre. You also need to be at least Master Rank 24 or higher to be able to enter the siege. Once you’ve done the Stygian Zinogre quest, you need to do the “??? Recon” special assignment that has you just scouting and learning how Safi’jiiva behaves. Once this quest is complete, you can initiate the real siege in the gathering hub.
How to join the Safi’jiiva siege
While the quest can be done solo if you’re skilled, don’t bother because you are just wasting your time. This is very much a multiplayer quest and is balanced accordingly. The best way to join the siege is searching for an online session with the “Filter Search” feature. This lets you join sessions focussing on Safi’jiiva. Once you’re in the session, you need to get to the Gathering Hub and join a siege or initiate a siege.

Safi’jiiva weakness
Safi’jiiva is weak to dragon (and elderseal) mainly so equip dragon attack weapons if you have them and want to rely on that. Safi’jiiva can also be poisoned and can be inflicted using blast weapons. I only really recommend poison because it is more reliable than blast in my experience.
Safi’jiiva siege complete guide
There are three phases to one attempt at the siege. Your aim as a party of four is to break parts and try and slay Safi’jiiva while other groups also do the same. Each group will help the others in some way but your main aim (besides staying alive) is to make Safi’jiiva drain energy from a level and move to the next one. The siege has three phases across three areas and Safi’jiiva gets more aggressive with each phase.
The first phase is basically like a tutorial where you understand how to target Safi’jiiva and where you you should focus with your particular weapon. I’d recommend sticking to attacking its legs initially and then targetting the tail because a tail cut drop is worth loads in this siege. As you keep damaging Safi’jiiva, it will drain energy from the level and once that is exhausted, it will move to the next area which begins the second phase.

Paying attention to what the NPCs tell you is very important during phases two and three because they let you know who Safi’jiiva is targetting and when Safi’jiiva is preparing the massive supernova like attack.
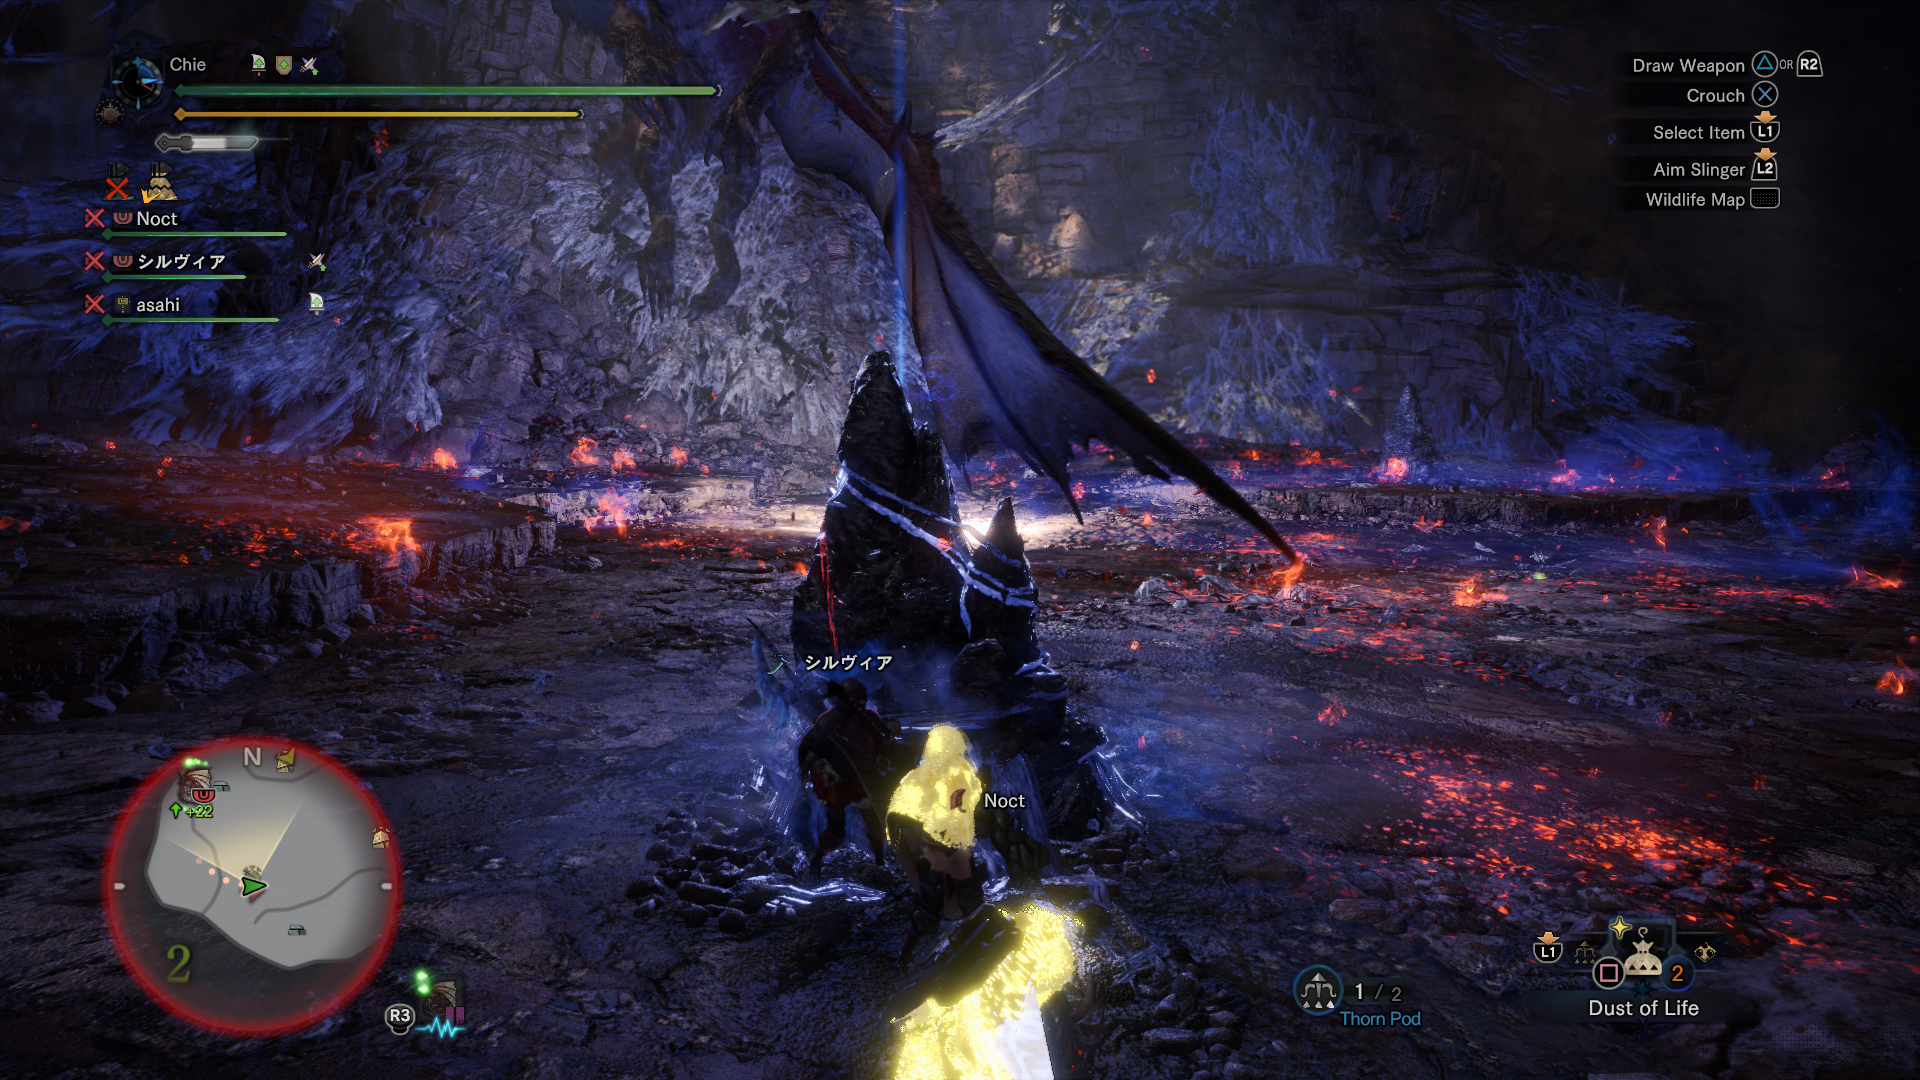
In phase two, Safi’jiiva is a lot more dangerous. It starts to target specific teammates (or you) and you need to ensure that you are damaging Safi’jiiva enough while it is targetting someone else. Safi’jiiva also has a supernova like attack here which will cart you so hide behind the various rocks (crags) around the area. These are shown on the map. Safi’jiiva also has an attack that has it fire a laser at a teammate and this is where you need to use Life Powder or Dust of Life to ensure your teammate doesn’t cart. You also need to avoid Safi’jiiva’s area of effect attacks that inflict you with fireblight here. The ground has signs of the attack so be mindful of the environment.
In phase three, the final battle begins. This is similar to the location in the initial tease for the December update from Capcom. In this phase, Safi’jiiva has more aggressive attacks. It still has the supernova attack but rocks are less plentiful in this area and the third phase. When you start seeing Safi’jiiva drop slinger bombs, you will know that the siege is nearly complete. This phase is also when you need to pay attention to the clock.
Once you have survived and slayed Safi’jiiva, make sure to carve it because the material drops are needed for the Safi’jiiva armor sets.

What items to bring to the Safi’jiiva siege
Life Powder and Dust of Life are both essentials because when Safi’jiiva targets you or a teammate, someone has to use one of those to ensure no one carts.
A farcaster is useful to restock items in between phases.
In terms of mantles, go with whatever you’re most comfortable with. This isn’t an easy and quick fight so don’t stress on learning how to hunt while using mantles you aren’t familiar with or with specialised tools you haven’t used before.
Hopefully that helps you do the siege because the armor and weapons you can craft or earn are well worth your time.


