Last week, we got the boxes together and visualised our gaming rig. This week, our plan to make the 1080/60 machine starts in earnest, because it’s time to put it together.
Now, it’s been quite a while since I put a PC of any kind together, and I mentioned in week one’s video that the processor was the part I was most nervous to do. So I had a quick look at Ebuyer’s guide (just for reference, it’s here), and decided I was happy that we really had everything we needed to get going.
 Thankfully, not much has actually changed when it comes to building a PC; the parts have just gotten better. The processor itself drops in nicely, and the only decision really is whether to use the stock heatsink/fan, or try out the Cryorig R1 we mentioned last week. Obviously we’d prefer a serious piece of kit cooling the processor, so it was a real shame that the thing is simply too big for the case. After spending close to an hour (again, I’ve not done this in a while) fitting it, the thought suddenly dawned on me: there’s no way this fits in the case. It’s an absolute behemoth of a fan, and if you’ve a large tower, it’s going to be brilliant for you. Sadly, I had to revert back to the stock parts, and awkwardly remove the Cryorig from the case. Boo.
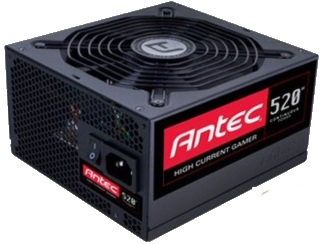
But despite the first attempt being a failure of sorts, the processor was secured (though we put the Antec High PSU in first – which is simply a case of securing it in via the supplied screws) and that means we’ve a green light to get everything else popped in.
Screwing the motherboard into the NZXT Phantom 240 case was easy, and just required putting the bridging screws in, then putting it all together. Honestly, at this point, we’re just plugging everything in, really. I know a few people would suggest testing the motherboard outside of the case first, but I’ve never been a fan. I’m not saying it doesn’t make sense to do so, but I could have had the entire PC tested before securing it inside the case, only to realise the Cryorig didn’t fit, and have to pull it all apart again. Moreover, even if it had fit snugly, the thing weighs a ton, and I’d rather not be fitting things via tiny screws with that weight involved.
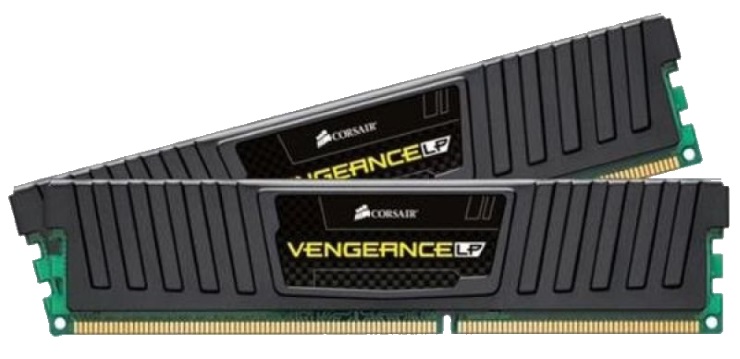
Anyway, the GeForce GTX 970 just slips into the PCI-E port, then screws in at the back. The Corsair Vengeance 16GB of RAM (pictured, for those interested) also just slots in, and the Hard Drive caddies mean that you can just pop your chosen one in, and the plastic holsters secure it. If you prefer a SSD (much smaller) they also fit, but require a few screws to hold them nicely in place.

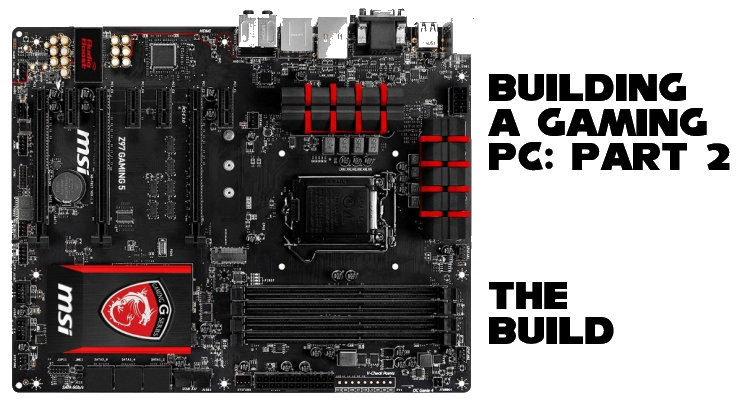
With everything installed (we also inserted an old stock DVD-drive just for ease of driver installation), the only job left is to plug the cables in. It’s actually far more simple than expected, too. The MSI Z97 is labelled rather well, so tracing power cable to motherboard is easy. The nature of our rig means that really the only non power based cables are the SATA for HDD and DVD drive, so upon tracing tracing each cable correctly, we’re ready to power up.
Until I realised I’d missed a fan cable and nothing worked. Perhaps I was getting a little cocky.
Pressing the power button for the second time didn’t seem as awe-inducing due to the mistake, but the fans whirred into life, the screen lit up. We’re in business. Installing the OS (Windows 8.1) was easy, and it’s time to get Steam installed, games downloaded, and things tweaked. One thing I’d note, is that aside the issues with the Cryorig being too big, the whole process was incredibly simple. Everything just fits, and clicks into place. The hardest part appears to be doing the research and getting the right parts.
Next week, we’ll be putting it through its paces, and seeing what this thing can do. But for now, here’s a video of the inside of the machine we’re nicknaming “the beast”. We did have footage of us actually building it, but the files somehow got corrupted. At least this way, you get to see the innards, and the horrendous cable management which I promise I’ll eventually sort out.


